SpringBoot整合OpenAI ChatGPT实现智能对话系统
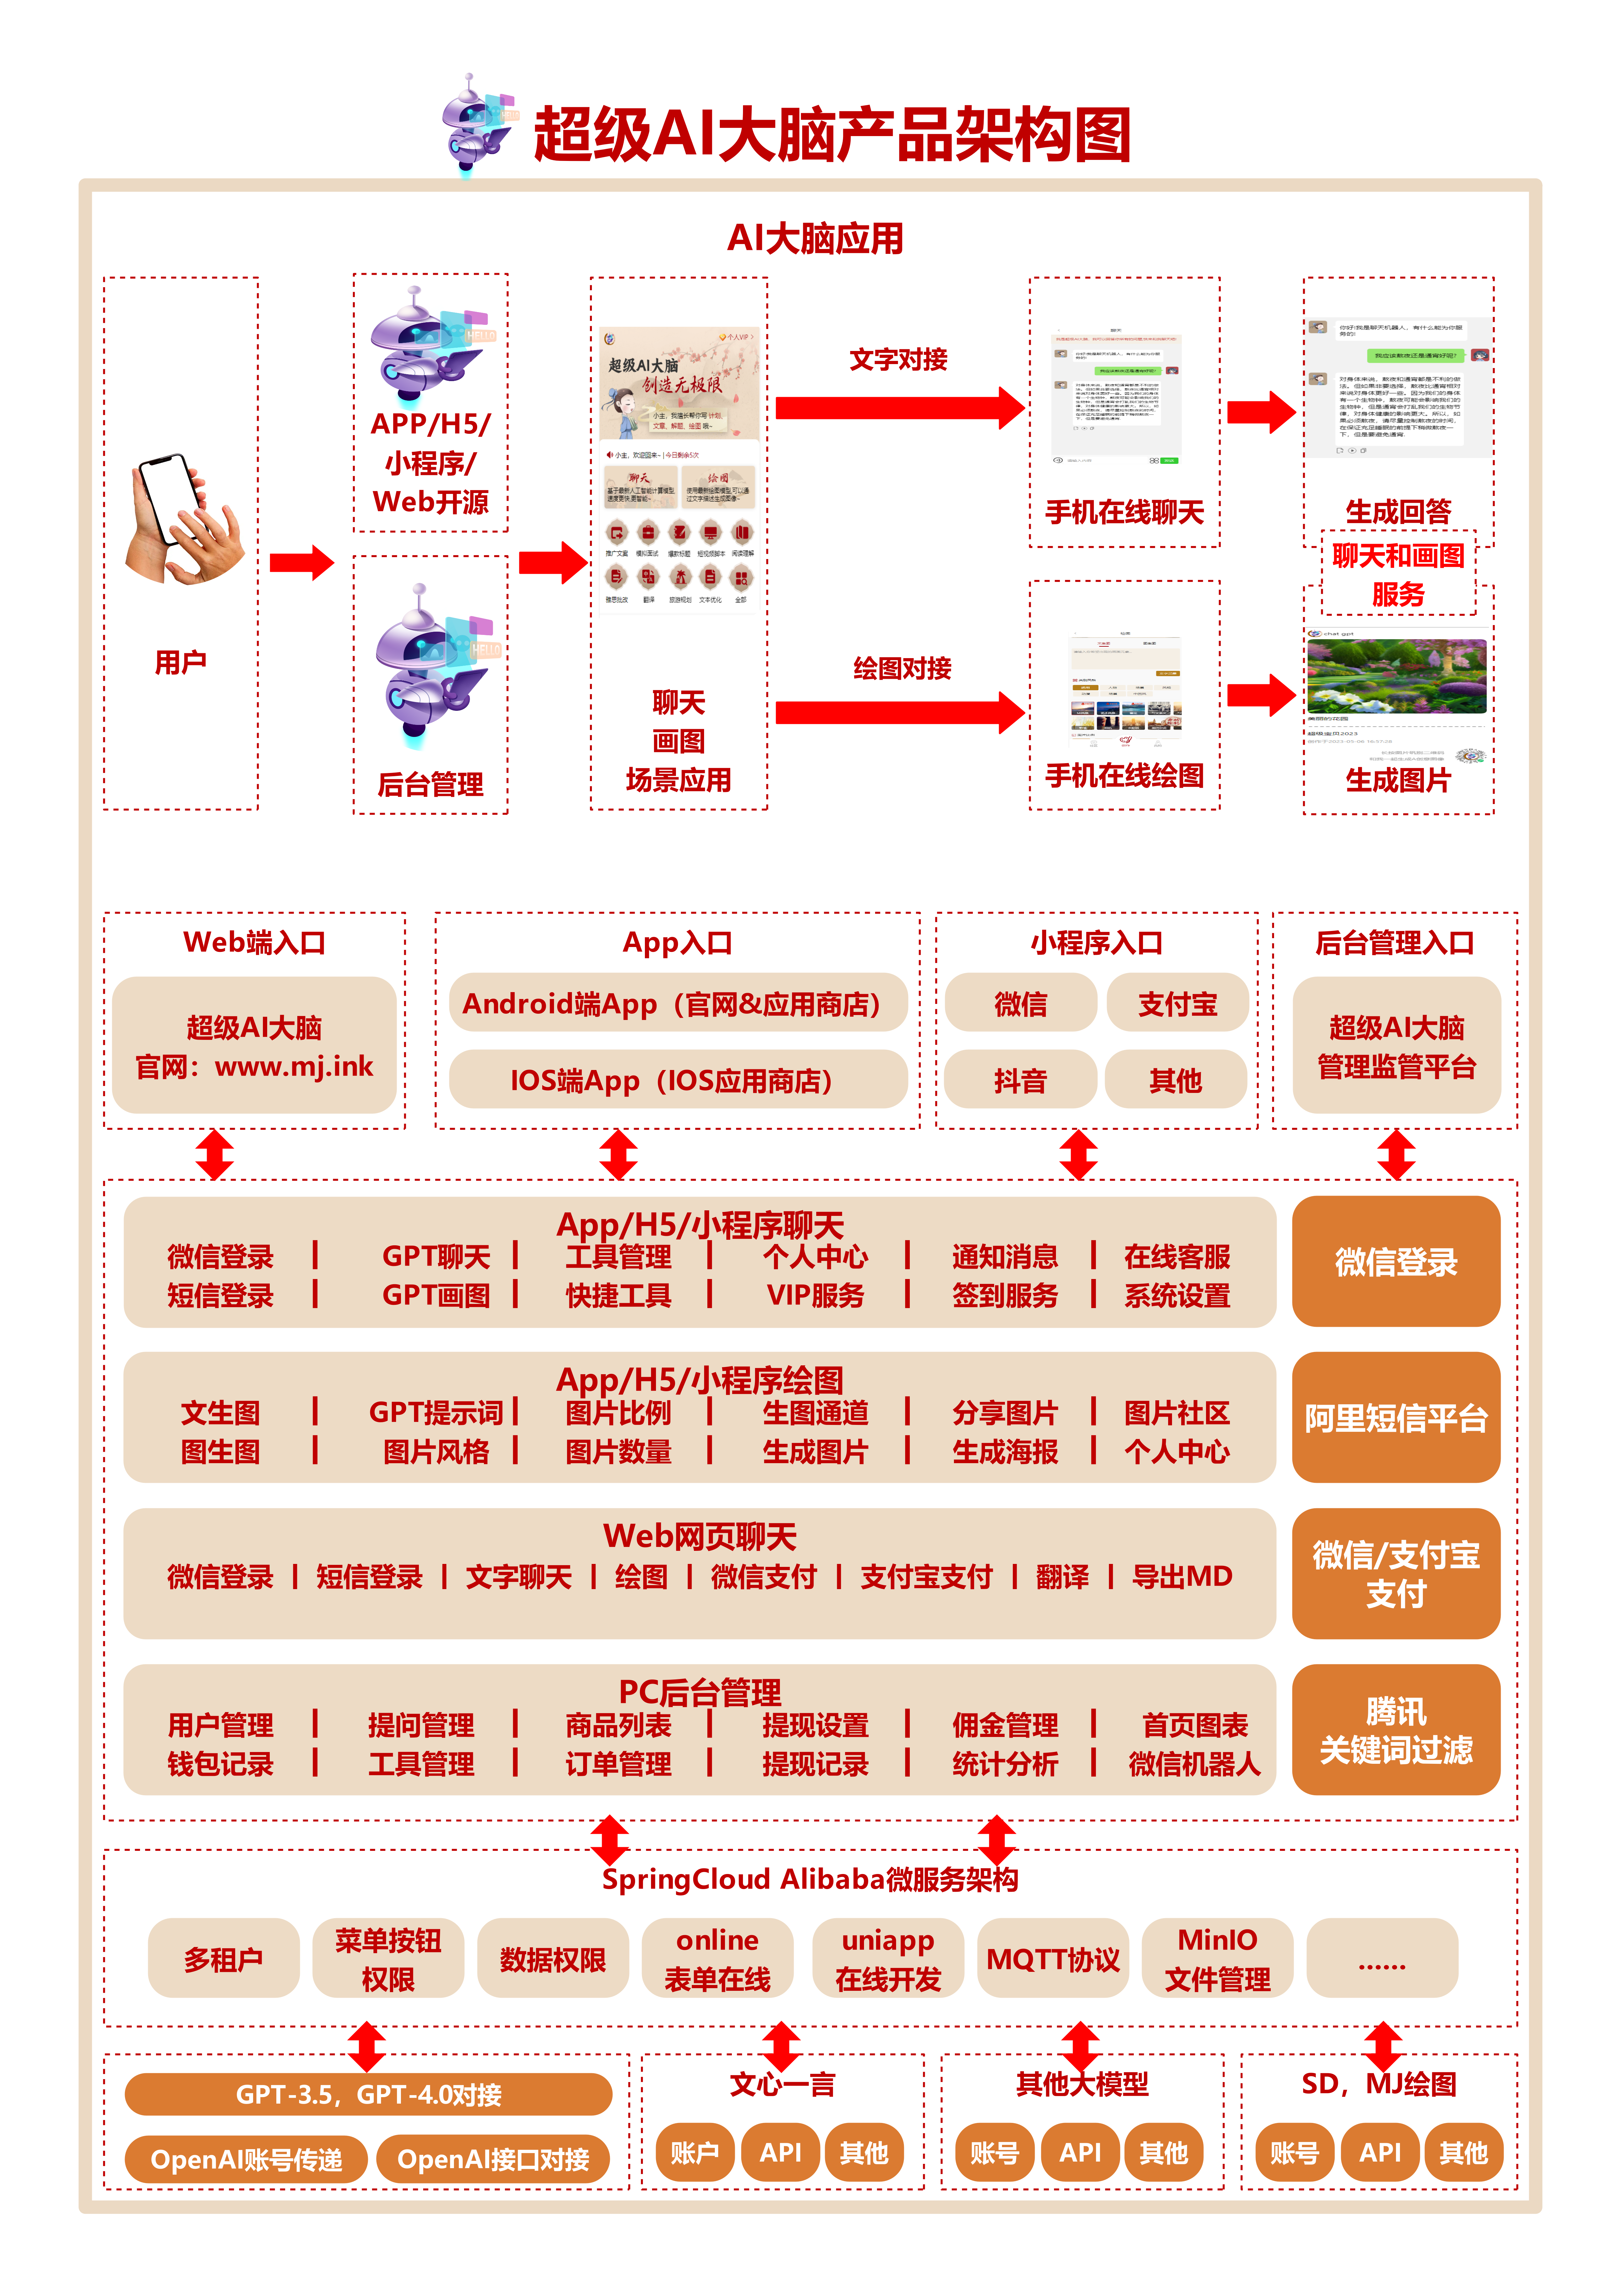
在人工智能快速发展的今天,ChatGPT作为一款强大的语言模型,正在被广泛应用于各种智能对话场景。本文将详细介绍如何在SpringBoot项目中集成OpenAI的ChatGPT API,实现一个功能丰富的智能对话系统。
项目概述
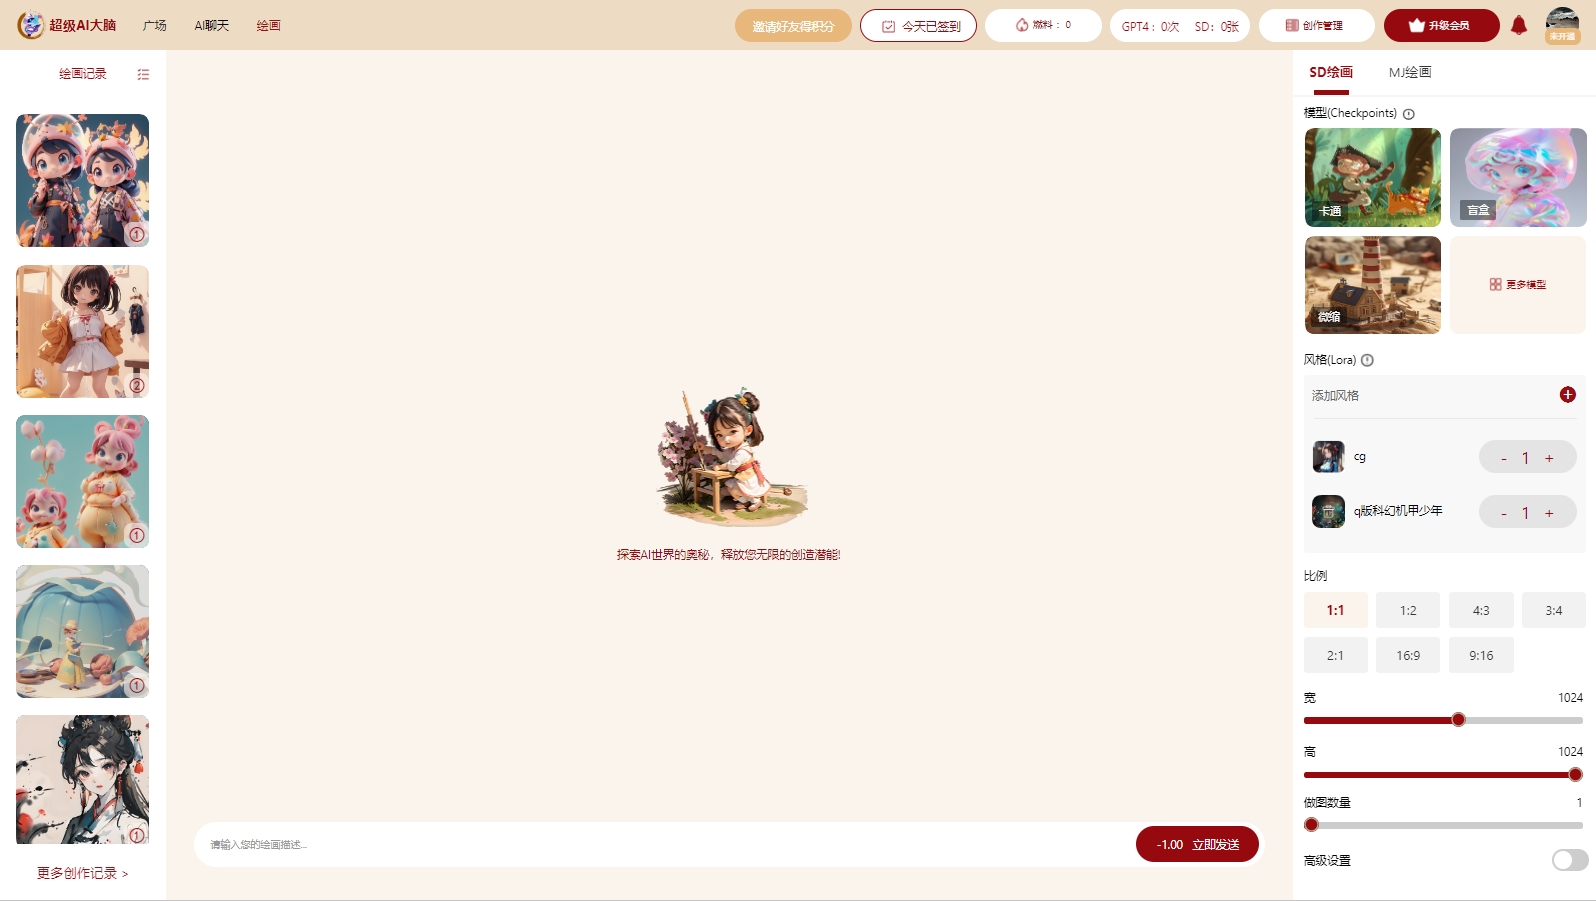
本项目是一个基于SpringBoot框架开发的智能对话系统,核心功能是通过调用OpenAI的ChatGPT API来实现智能问答。系统不仅支持基础的对话功能,还集成了AI绘图、多角色对话等高级特性,可以满足各种复杂的对话需求。

环境准备
要运行本项目,您需要准备以下环境:
- JDK 1.8+
- Maven 3.6+
- SpringBoot 2.5+
- OpenAI API密钥
首先,您需要在OpenAI官网注册账号并获取API密钥。请妥善保管您的API密钥,不要泄露给他人。
核心代码实现
1. 添加依赖
在pom.xml文件中添加以下依赖:
<dependency>
    <groupId>org.springframework.boot</groupId>
    <artifactId>spring-boot-starter-web</artifactId>
</dependency>
<dependency>
    <groupId>org.springframework.boot</groupId>
    <artifactId>spring-boot-starter-webflux</artifactId>
</dependency>
2. 配置OpenAI API
在application.yml中配置OpenAI API密钥:
openai:
  api-key: your-api-key-here
3. 创建ChatGPT服务类
@Service
public class ChatGptService {

    @Value("${openai.api-key}")
    private String apiKey;

    private final WebClient webClient;

    public ChatGptService(WebClient.Builder webClientBuilder) {
        this.webClient = webClientBuilder.baseUrl("https://api.openai.com/v1")
                .defaultHeader(HttpHeaders.AUTHORIZATION, "Bearer " + apiKey)
                .build();
    }

    public Mono<String> getChatResponse(String prompt) {
        ChatRequest request = new ChatRequest("gpt-3.5-turbo", List.of(new Message("user", prompt)));
        return webClient.post()
                .uri("/chat/completions")
                .bodyValue(request)
                .retrieve()
                .bodyToMono(ChatResponse.class)
                .map(response -> response.getChoices().get(0).getMessage().getContent());
    }
}
4. 创建Controller
@RestController
@RequestMapping("/api/chat")
public class ChatController {

    private final ChatGptService chatGptService;

    public ChatController(ChatGptService chatGptService) {
        this.chatGptService = chatGptService;
    }

    @PostMapping
    public Mono<String> chat(@RequestBody String prompt) {
        return chatGptService.getChatResponse(prompt);
    }
}
高级功能实现
1. 多角色对话
为了支持多角色对话,我们可以扩展ChatRequest类:
public class ChatRequest {
    private String model;
    private List<Message> messages;

    // 构造函数、getter和setter
}

public class Message {
    private String role;
    private String content;

    // 构造函数、getter和setter
}
在ChatGptService中,我们可以添加一个新方法来支持多轮对话:
public Mono<String> getMultiTurnChatResponse(List<Message> messages) {
    ChatRequest request = new ChatRequest("gpt-3.5-turbo", messages);
    return webClient.post()
            .uri("/chat/completions")
            .bodyValue(request)
            .retrieve()
            .bodyToMono(ChatResponse.class)
            .map(response -> response.getChoices().get(0).getMessage().getContent());
}
2. AI绘图功能
要实现AI绘图功能,我们需要调用OpenAI的DALL-E API。首先,创建一个新的服务类:
@Service
public class ImageGenerationService {

    @Value("${openai.api-key}")
    private String apiKey;

    private final WebClient webClient;

    public ImageGenerationService(WebClient.Builder webClientBuilder) {
        this.webClient = webClientBuilder.baseUrl("https://api.openai.com/v1")
                .defaultHeader(HttpHeaders.AUTHORIZATION, "Bearer " + apiKey)
                .build();
    }

    public Mono<String> generateImage(String prompt) {
        ImageRequest request = new ImageRequest(prompt, 1, "512x512");
        return webClient.post()
                .uri("/images/generations")
                .bodyValue(request)
                .retrieve()
                .bodyToMono(ImageResponse.class)
                .map(response -> response.getData().get(0).getUrl());
    }
}
然后,创建对应的Controller:
@RestController
@RequestMapping("/api/image")
public class ImageController {

    private final ImageGenerationService imageGenerationService;

    public ImageController(ImageGenerationService imageGenerationService) {
        this.imageGenerationService = imageGenerationService;
    }

    @PostMapping
    public Mono<String> generateImage(@RequestBody String prompt) {
        return imageGenerationService.generateImage(prompt);
    }
}
完整运行步骤
-
克隆项目到本地:
git clone https://github.com/yourusername/springboot-openai-chatgpt.git -
进入项目目录:
cd springboot-openai-chatgpt -
在
application.yml中配置您的OpenAI API密钥。 -
使用Maven编译项目:
mvn clean package -
运行项目:
java -jar target/springboot-openai-chatgpt-1.0.0.jar -
访问
http://localhost:8080即可使用智能对话系统。
总结
通过以上步骤,我们成功地在SpringBoot项目中集成了OpenAI的ChatGPT API,实现了一个功能强大的智能对话系统。该系统不仅支持基础的问答功能,还包括了多角色对话和AI绘图等高级特性。
在实际应用中,您可以根据具体需求进一步扩展系统功能,例如添加用户认证、对话历史记录、情感分析等。同时,请注意合理使用API,遵守OpenAI的使用政策,保护用户隐私和数据安全。
希望本文能够帮助您快速上手SpringBoot和ChatGPT的集成开发。如果您在开发过程中遇到任何问题,欢迎在评论区留言或查阅官方文档。祝您开发顺利!


