Docker-OSX · Follow @sickcodes on Twitter

Run Mac OS X in Docker with near-native performance! X11 Forwarding! iMessage security research! iPhone USB working! macOS in a Docker container!
Conduct Security Research on macOS using both Linux & Windows!
Docker-OSX now has a Discord server & Telegram!
The Discord is active on #docker-osx and anyone is welcome to come and ask questions, ideas, etc.
Click to join the Discord server https://discord.gg/sickchat
Click to join the Telegram server https://t.me/sickcodeschat
Or reach out via Linkedin if it's private: https://www.linkedin.com/in/sickcodes
Or via https://sick.codes/contact/
Author
This project is maintained by Sick.Codes. (Twitter)
Additional credits can be found here: https://github.com/sickcodes/Docker-OSX/blob/master/CREDITS.md
Additionally, comprehensive list of all contributors can be found here: https://github.com/sickcodes/Docker-OSX/graphs/contributors
Big thanks to @kholia for maintaining the upstream project, which Docker-OSX is built on top of: OSX-KVM.
Also special thanks to @thenickdude who maintains the valuable fork KVM-OpenCore, which was started by @Leoyzen!
Extra special thanks to the OpenCore team over at: https://github.com/acidanthera/OpenCorePkg. Their well-maintained bootloader provides much of the great functionality that Docker-OSX users enjoy :)
If you like this project, consider contributing here or upstream!
Quick Start Docker-OSX
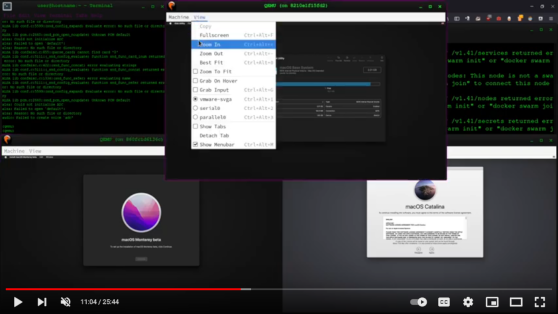
Video setup tutorial is also available here: https://www.youtube.com/watch?v=wLezYl77Ll8
Windows users: click here to see the notes below!
First time here? try initial setup, otherwise try the instructions below to use either Catalina or Big Sur.
Any questions, ideas, or just want to hang out?
https://discord.gg/sickchat
Catalina 
docker run -it \
    --device /dev/kvm \
    -p 50922:10022 \
    -v /tmp/.X11-unix:/tmp/.X11-unix \
    -e "DISPLAY=${DISPLAY:-:0.0}" \
    sickcodes/docker-osx:latest

# docker build -t docker-osx .
Big Sur 
docker run -it \
    --device /dev/kvm \
    -p 50922:10022 \
    -v /tmp/.X11-unix:/tmp/.X11-unix \
    -e "DISPLAY=${DISPLAY:-:0.0}" \
    sickcodes/docker-osx:big-sur

# docker build -t docker-osx --build-arg SHORTNAME=big-sur .
Monterey 
docker run -it \
    --device /dev/kvm \
    -p 50922:10022 \
    -v /tmp/.X11-unix:/tmp/.X11-unix \
    -e "DISPLAY=${DISPLAY:-:0.0}" \
    -e GENERATE_UNIQUE=true \
    -e MASTER_PLIST_URL='https://raw.githubusercontent.com/sickcodes/osx-serial-generator/master/config-custom.plist' \
    sickcodes/docker-osx:monterey

# docker build -t docker-osx --build-arg SHORTNAME=monterey .
Ventura 
docker run -it \
    --device /dev/kvm \
    -p 50922:10022 \
    -v /tmp/.X11-unix:/tmp/.X11-unix \
    -e "DISPLAY=${DISPLAY:-:0.0}" \
    -e GENERATE_UNIQUE=true \
    -e MASTER_PLIST_URL='https://raw.githubusercontent.com/sickcodes/osx-serial-generator/master/config-custom.plist' \
    sickcodes/docker-osx:ventura

# docker build -t docker-osx --build-arg SHORTNAME=ventura .
Sonoma 
docker run -it \
    --device /dev/kvm \
    -p 50922:10022 \
    -v /tmp/.X11-unix:/tmp/.X11-unix \
    -e "DISPLAY=${DISPLAY:-:0.0}" \
    -e GENERATE_UNIQUE=true \
    -e CPU='Haswell-noTSX' \
    -e CPUID_FLAGS='kvm=on,vendor=GenuineIntel,+invtsc,vmware-cpuid-freq=on' \
    -e MASTER_PLIST_URL='https://raw.githubusercontent.com/sickcodes/osx-serial-generator/master/config-custom-sonoma.plist' \
    sickcodes/docker-osx:sonoma

# docker build -t docker-osx --build-arg SHORTNAME=sonoma .
Run Catalina Pre-Installed 
# 40GB disk space required: 20GB original image 20GB your container.
docker pull sickcodes/docker-osx:auto

# boot directly into a real OS X shell with a visual display [NOT HEADLESS]
docker run -it \
    --device /dev/kvm \
    -p 50922:10022 \
    -v /tmp/.X11-unix:/tmp/.X11-unix \
    -e "DISPLAY=${DISPLAY:-:0.0}" \
    -e GENERATE_UNIQUE=true \
    sickcodes/docker-osx:auto

# username is user
# passsword is alpine
Older Systems
High Sierra 
docker run -it \
    --device /dev/kvm \
    -p 50922:10022 \
    -v /tmp/.X11-unix:/tmp/.X11-unix \
    -e "DISPLAY=${DISPLAY:-:0.0}" \
    sickcodes/docker-osx:high-sierra

# docker build -t docker-osx --build-arg SHORTNAME=high-sierra .
Mojave 
docker run -it \
    --device /dev/kvm \
    -p 50922:10022 \
    -v /tmp/.X11-unix:/tmp/.X11-unix \
    -e "DISPLAY=${DISPLAY:-:0.0}" \
    sickcodes/docker-osx:mojave

# docker build -t docker-osx --build-arg SHORTNAME=mojave .
Download the image manually and use it in Docker
This is a particularly good way for downloading the container, in case Docker's CDN (or your connection) happens to be slow.
wget https://images2.sick.codes/mac_hdd_ng_auto.img

docker run -it \
    --device /dev/kvm \
    -p 50922:10022 \
    -v "${PWD}/mac_hdd_ng_auto.img:/image" \
    -v /tmp/.X11-unix:/tmp/.X11-unix \
    -e "DISPLAY=${DISPLAY:-:0.0}" \
    -e GENERATE_UNIQUE=true \
    -e MASTER_PLIST_URL=https://raw.githubusercontent.com/sickcodes/Docker-OSX/master/custom/config-nopicker-custom.plist \
    sickcodes/docker-osx:naked
Use your own image and manually and automatically log into a shell
Enable SSH in network sharing inside the guest first. Change -e "USERNAME=user" and -e "PASSWORD=password" to your credentials. The container will add itself to ~/.ssh/authorized_keys
Since you can't see the screen, use the PLIST with nopicker, for example:
# Catalina
# wget https://images2.sick.codes/mac_hdd_ng_auto.img
# Monterey
wget https://images.sick.codes/mac_hdd_ng_auto_monterey.img

docker run -it \
    --device /dev/kvm \
    -p 50922:10022 \
    -v "${PWD}/mac_hdd_ng_auto_monterey.img:/image" \
    -v /tmp/.X11-unix:/tmp/.X11-unix \
    -e "DISPLAY=${DISPLAY:-:0.0}" \
    -e "USERNAME=user" \
    -e "PASSWORD=alpine" \
    -e GENERATE_UNIQUE=true \
    -e MASTER_PLIST_URL=https://raw.githubusercontent.com/sickcodes/Docker-OSX/master/custom/config-nopicker-custom.plist \
    sickcodes/docker-osx:naked-auto
Share directories, sharing files, shared folder, mount folder
The easiest and most secure way is sshfs
# on Linux/Windows
mkdir ~/mnt/osx
sshfs user@localhost:/ -p 50922 ~/mnt/osx
# wait a few seconds, and ~/mnt/osx will have full rootfs mounted over ssh, and in userspace
# automated: sshpass -p <password> sshfs user@localhost:/ -p 50922 ~/mnt/osx
(VFIO) iPhone USB passthrough (VFIO)
If you have a laptop see the next usbfluxd section.
If you have a desktop PC, you can use @Silfalion's instructions: https://github.com/Silfalion/Iphone_docker_osx_passthrough
(USBFLUXD) iPhone USB -> Network style passthrough OSX-KVM Docker-OSX
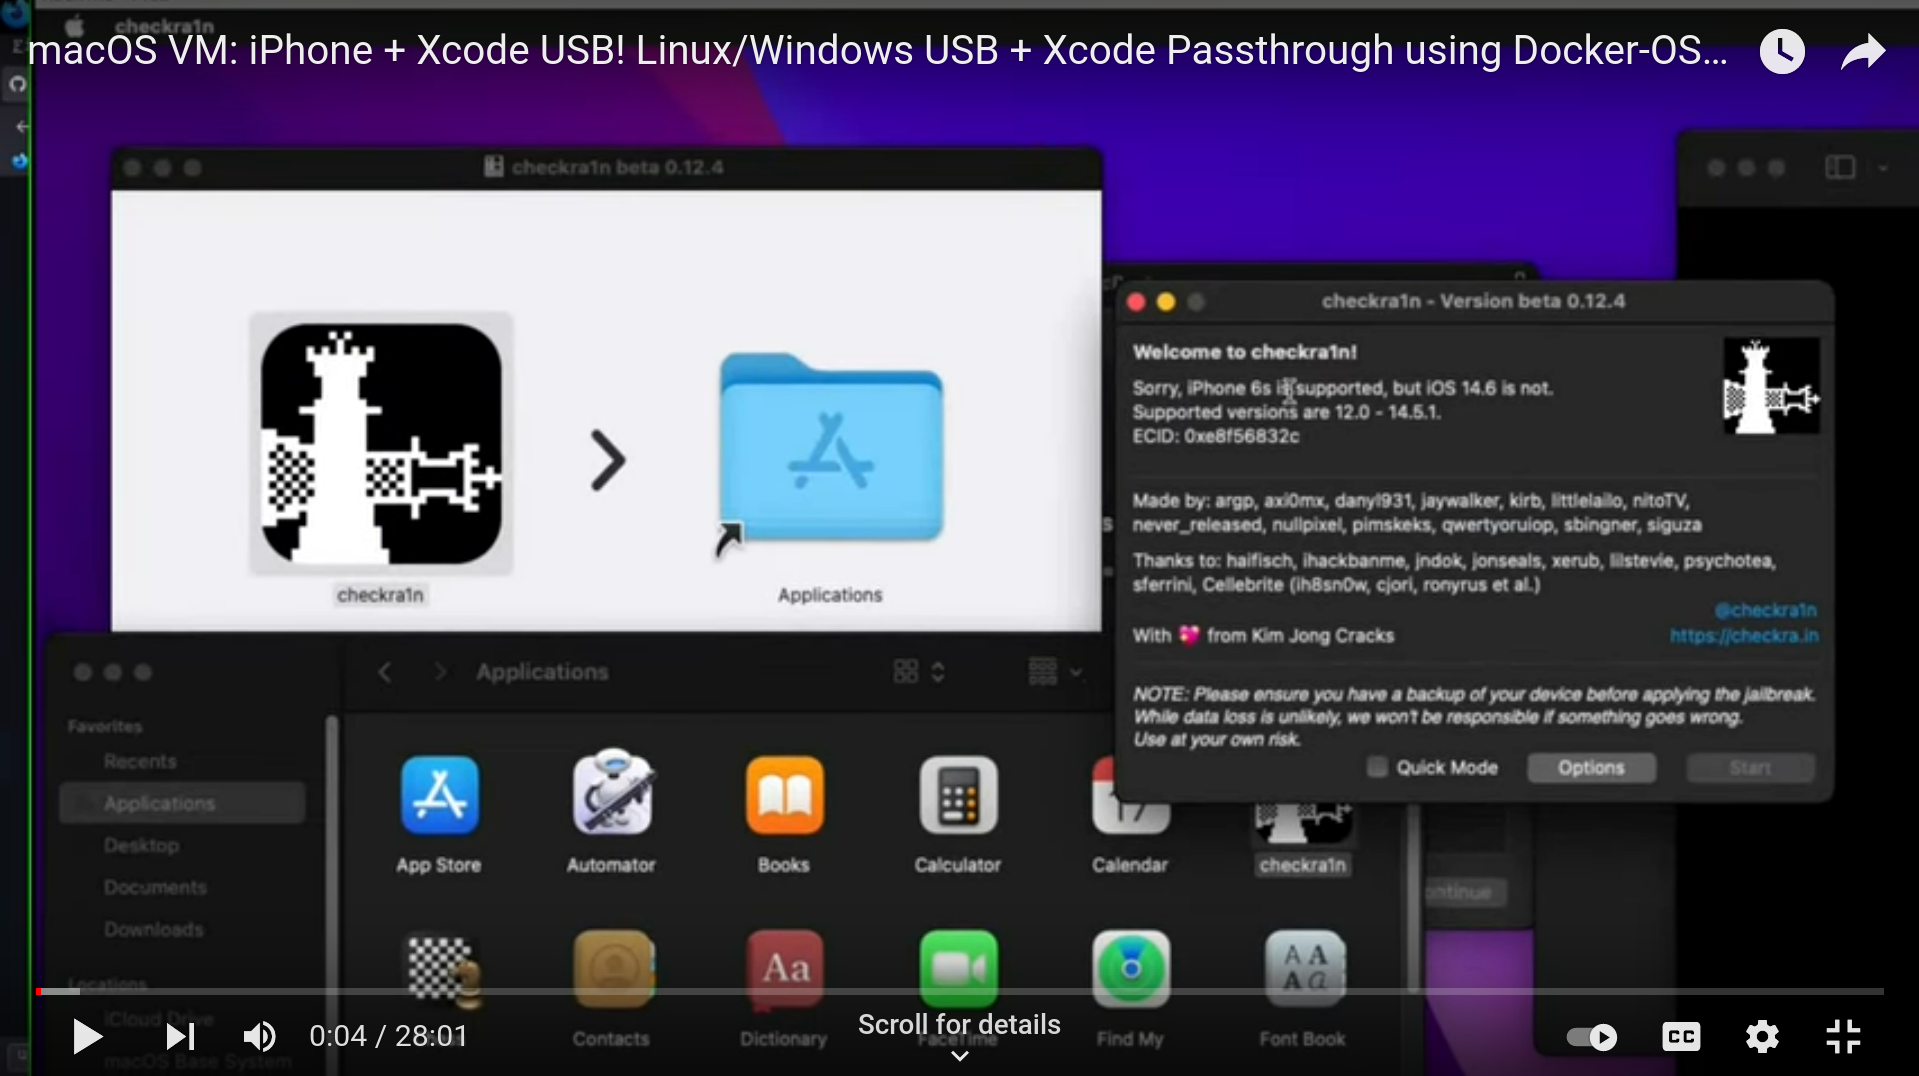
Video setup tutorial for usbfluxd is also available here: https://www.youtube.com/watch?v=kTk5fGjK_PM
This method WORKS on laptop, PC, anything!
Thank you @nikias for usbfluxd via https://github.com/corellium!
This is done inside Linux.
Open 3 terminals on Linux
Connecting your device over USB on Linux allows you to expose usbmuxd on port 5000 using https://github.com/corellium/usbfluxd to another system on the same network.
Ensure usbmuxd, socat and usbfluxd are installed.
sudo pacman -S libusbmuxd usbmuxd avahi socat
Available on the AUR: https://aur.archlinux.org/packages/usbfluxd/
yay usbfluxd
Plug in your iPhone or iPad.
Terminal 1
sudo systemctl start usbmuxd
sudo avahi-daemon
Terminal 2:
# on host
sudo systemctl restart usbmuxd
sudo socat tcp-listen:5000,fork unix-connect:/var/run/usbmuxd
Terminal 3:
sudo usbfluxd -f -n
Connect to a host running usbfluxd
This is done inside macOS.
Install homebrew.
172.17.0.1 is usually the Docker bridge IP, which is your PC, but you can use any IP from ip addr...
macOS Terminal:
# on the guest
brew install make automake autoconf libtool pkg-config gcc libimobiledevice usbmuxd

git clone https://github.com/corellium/usbfluxd.git
cd usbfluxd

./autogen.sh
make
sudo make install
Accept the USB over TCP connection, and appear as local:
(you may need to change 172.17.0.1 to the IP address of the host. e.g. check ip addr)
# on the guest
sudo launchctl start usbmuxd
export PATH=/usr/local/sbin:${PATH}
sudo usbfluxd -f -r 172.17.0.1:5000
Close apps such as Xcode and reopen them and your device should appear!
If you need to start again on Linux, wipe the current usbfluxd, usbmuxd, and socat:
sudo killall usbfluxd
sudo systemctl restart usbmuxd
sudo killall socat

 访问官网
访问官网 Github
 Huggingface
 文档
文档 论文
论文


