Lazyman Neovim Configuration Manager
# Install lazyman with the following two commands:
git clone https://github.com/doctorfree/nvim-lazyman $HOME/.config/nvim-Lazyman
$HOME/.config/nvim-Lazyman/lazyman.sh
NEWS! Lazyman is now available as a Kasm Workspace
by adding https://doctorfree.github.io/kasm-registry/ as a
Kasm 3rd party registry
and installing the Neovim or Deluxe workspace in your Kasm instance.
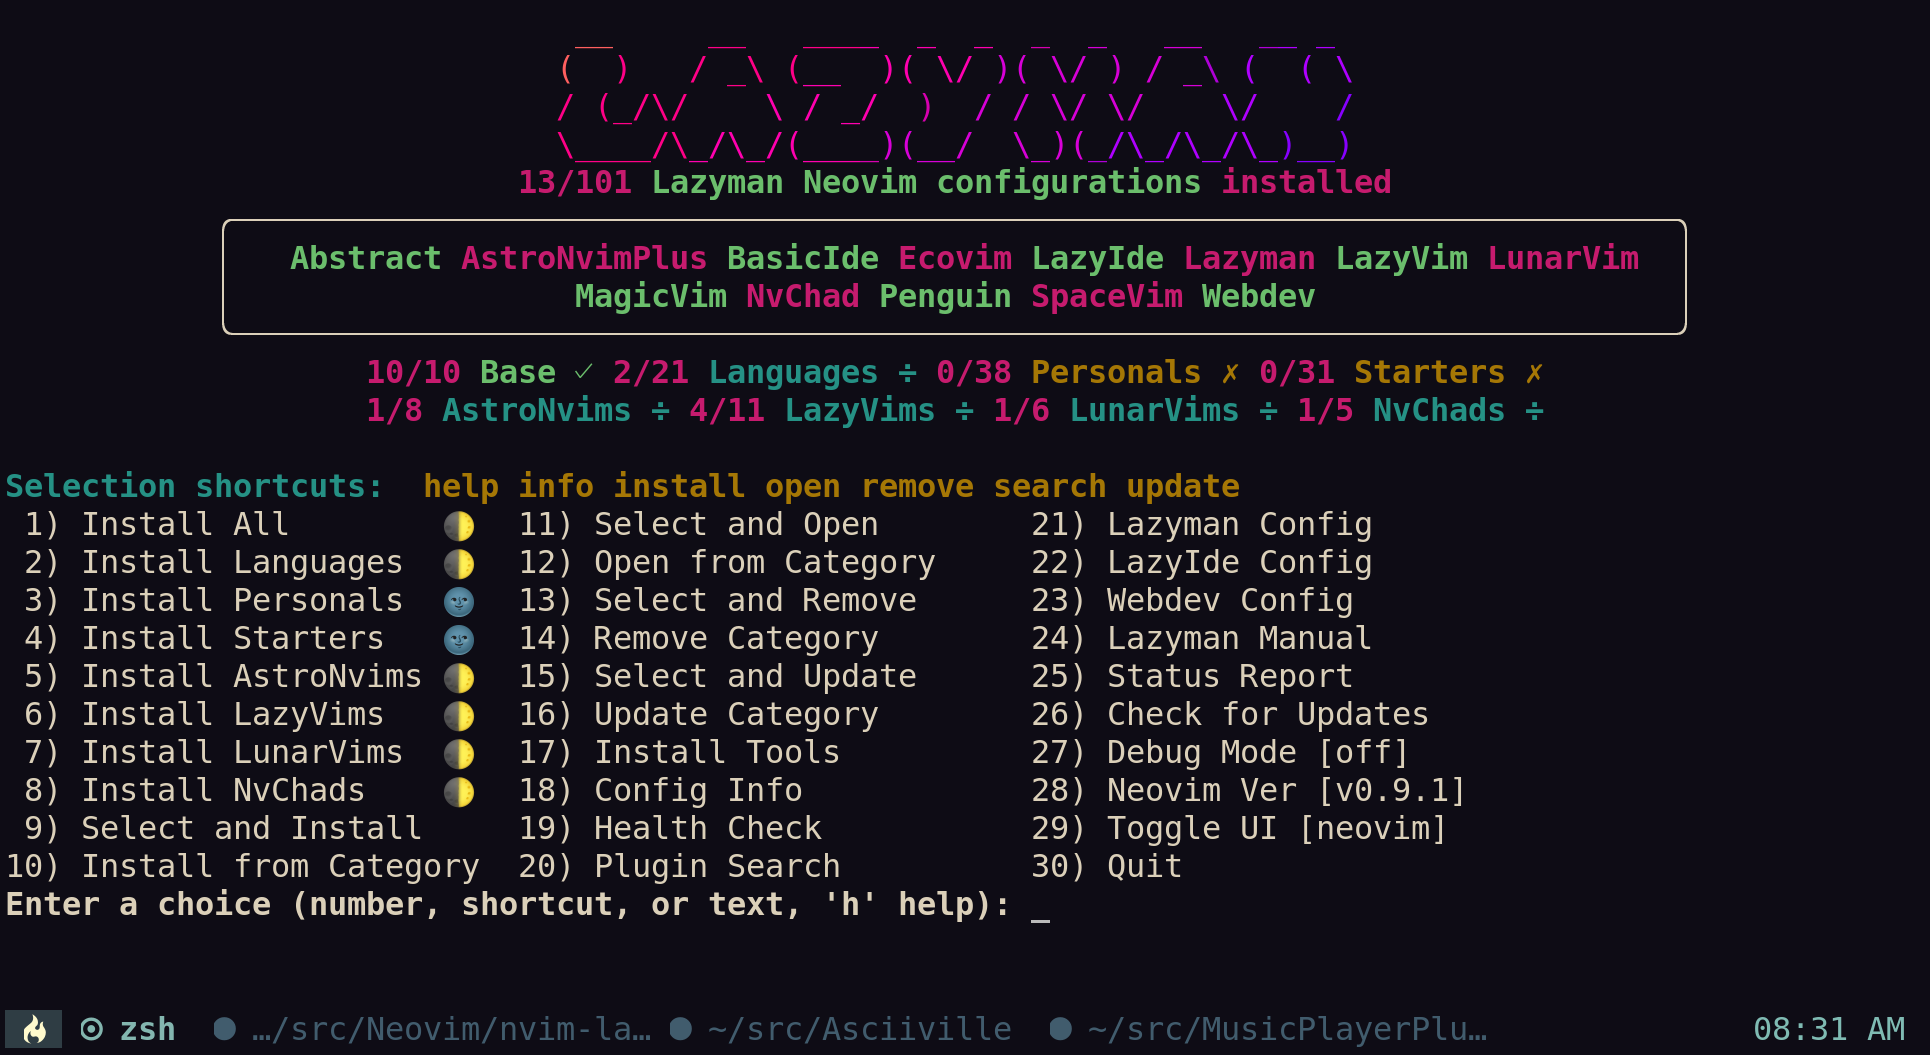
The Lazyman Neovim configuration management menu:

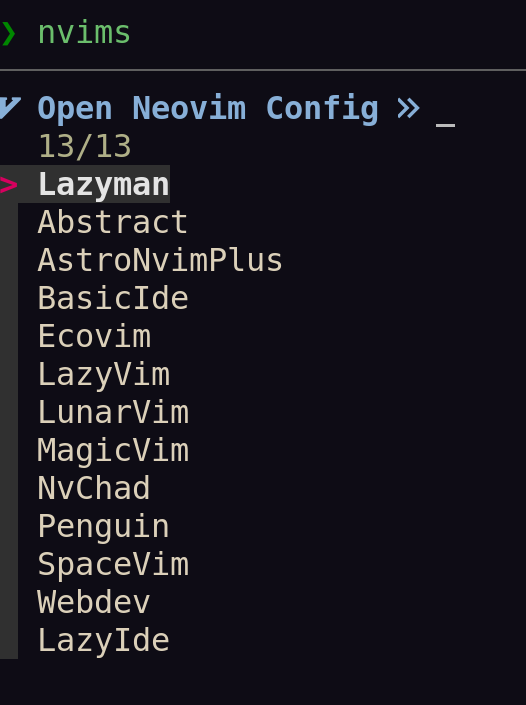
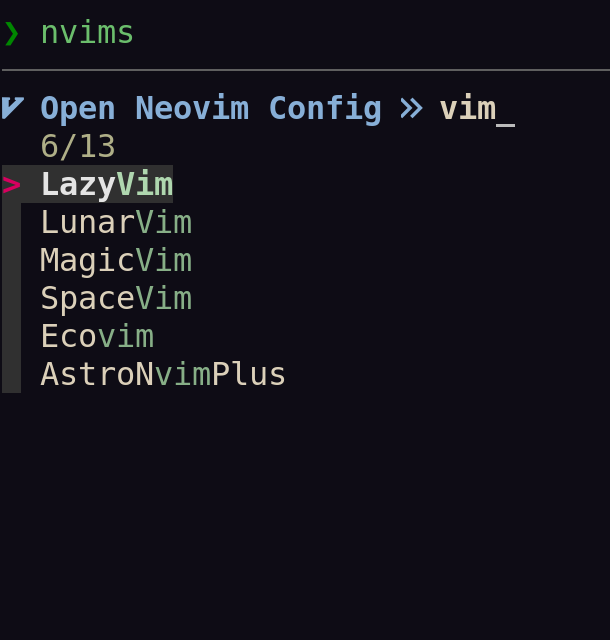
The nvims Neovim configuration fuzzy selector:


The Lazyman project can be used to install, initialize, and manage multiple Neovim configurations. Over 100 popular Neovim configurations are supported.
See what's new
Follow the Installation instructions to bootstrap Lazyman.
Once Lazyman is installed, execute the lazyman command to manage
Neovim configurations. The lazyman command is located in ~/.local/bin/lazyman.
The two primary features of the Lazyman project are the lazyman command
and the nvims shell function. The lazyman command provides a menu
interface and command line options to install, initialize, and manage
multiple Neovim configurations. The nvims shell function dynamically
generates a fuzzy searchable menu of Neovim configurations from which
to select. The selected configurations can be opened in Neovim, removed,
or a configuration information document can be viewed.
More info on the nvims and neovides shell functions can be found below
in the nvims fuzzy selector section, in the
nvims man page with man nvims, with the command nvims -U, or in Neovim
using the nvim-Lazyman configuration with :h Nvims.
The lazyman command separates Neovim configurations into 5 categories:
Base, Language, Personal, Starter, and Custom. The Base category
consists of well tested Neovim configurations and distributions, all of which
provide significant value. The Language category includes Neovim configurations
tailored for a specific programming or document format language. The Personal
category includes personal Neovim configurations that provide significant value
or demonstrate some cool features. Configurations in the Personal category are
not necessarily intended for public use, these repositories are maintained for
the personal use of the authors but are included here for their value.
The Starter category includes Neovim configurations tailored to serve as
a starting point for developing your own Neovim configuration. These include
the popular Neovim Kickstart configuration, a Modern Neovim config, the
PDE personal development environment config, and the Neovim configurations
provided by the nvim-starter project.
The Custom category includes any additional Neovim configurations installed
and initialized with lazyman by the end-user using the -C url and
-N nvimdir options.
In addition, Lazyman installs and initializes the Lazyman Neovim configuration, a richly configured Neovim environment using Lua, Lazy, and Mason to support highlighting, completion, diagnostics, and more for many programming languages.
The installation and initialization of Neovim configurations are placed in
separate directories and managed using the NVIM_APPNAME environment variable.
Note that a full installation and initialization of all supported Neovim configurations, plugins, language servers, formatters, linters, and tools will consume over 20GB of disk space.
The lazyman command is installed as ~/.local/bin/lazyman and can be used
to install, initialize, remove, and manage multiple Neovim configurations.
Table of Contents
- Requirements
- Installation
- Supported configurations
- Features
- Usage
- Motivation
- Notes
- Removal
- Known limitations and troubleshooting
- Appendix
Requirements
The lazyman Neovim configuration manager requires Neovim 0.9. The lazyman
installation and initialization process checks for Neovim 0.9 and, if not
found, installs it and required dependencies and tools.
Lazyman requires Linux or macOS, git, and the Bash shell version 4 or later.
- Unix/Linux/macOS
- Neovim 0.9 (automatically installed if not found)
- Bash version 4 or later (automatically installed if not found)
- Git version 2 or later
Note: CentOS 7 users should upgrade git and macOS users upgrade bash.
To enable installation of language servers and treesitter syntax highlighting
gcc, node, and npm are required. For example, to install these
requirements on Ubuntu Linux:
sudo apt install build-essential
sudo apt install nodejs
sudo apt install npm
Github API rate limiting
If you are in a corporate network or large shared network you may encounter rate limiting issues when attempting to access the Github API. To increase your rate limit, create and export a Github personal access token:
export GITHUB_TOKEN=<your-github-token>
macOS users
Even the latest versions of macOS ship with Bash 3.2 which dates from 2007. The Lazyman initialization process will update your system with a modern Bash using Homebrew:
brew install bash
The initialization process also makes sure it is found first in your PATH.
For example, export PATH="/usr/local/bin:${PATH}" or export PATH="/opt/homebrew/bin:${PATH}".
Installation
The Lazyman installation process consists of two steps.
Step 1, clone the Lazyman repository:
git clone https://github.com/doctorfree/nvim-lazyman $HOME/.config/nvim-Lazyman
Step 2, initialize the Lazyman Neovim configuration:
$HOME/.config/nvim-Lazyman/lazyman.sh
These 2 steps perform the following:
- Download the Lazyman Neovim configuration
- Initialize the Lazyman Neovim configuration which:
- Installs language servers and tools for coding diagnostics
- Installs the latest version of Neovim if not already installed
- Installs and initializes configured Neovim plugins
After the download and initialization are complete, execute the lazyman
command found in ~/.local/bin/lazyman.
By default, Lazyman uses the native package manager to install Neovim dependencies and tools. Supported native package managers include:
aptorapt-geton Debian based platforms (e.g. Ubuntu)dnforyumon RPM based platforms (Fedora, CentOS, Red Hat)pacmanon Arch Linux and Arch-Like platformsapkon Alpine Linuxxbps-installon Void Linuxzypperon SUSE Linux
Further details on Lazyman installation including command line options
to direct lazyman to install Neovim, dependencies and tools using
Homebrew or to skip the Neovim installation altogether
can be found on the
Install tab of the Lazyman website
Supported configurations
View details of each supported configuration at the Lazyman website.
Over 100 popular Neovim configurations are supported in the following configuration categories:
| Language | Configs | |||||
|---|---|---|---|---|---|---|
| AlanVim | Allaman | CatNvim | Cpp | Go | Go2one | Insis |
| Knvim | LaTeX | LazyIde | LunarIde | LvimIde | Magidc | Nv |
| NV-IDE | Orange | Python | Rust | SaleVim | Shuvro | Webdev |

 访问官网
访问官网 Github
 文档
文档 论文
论文


