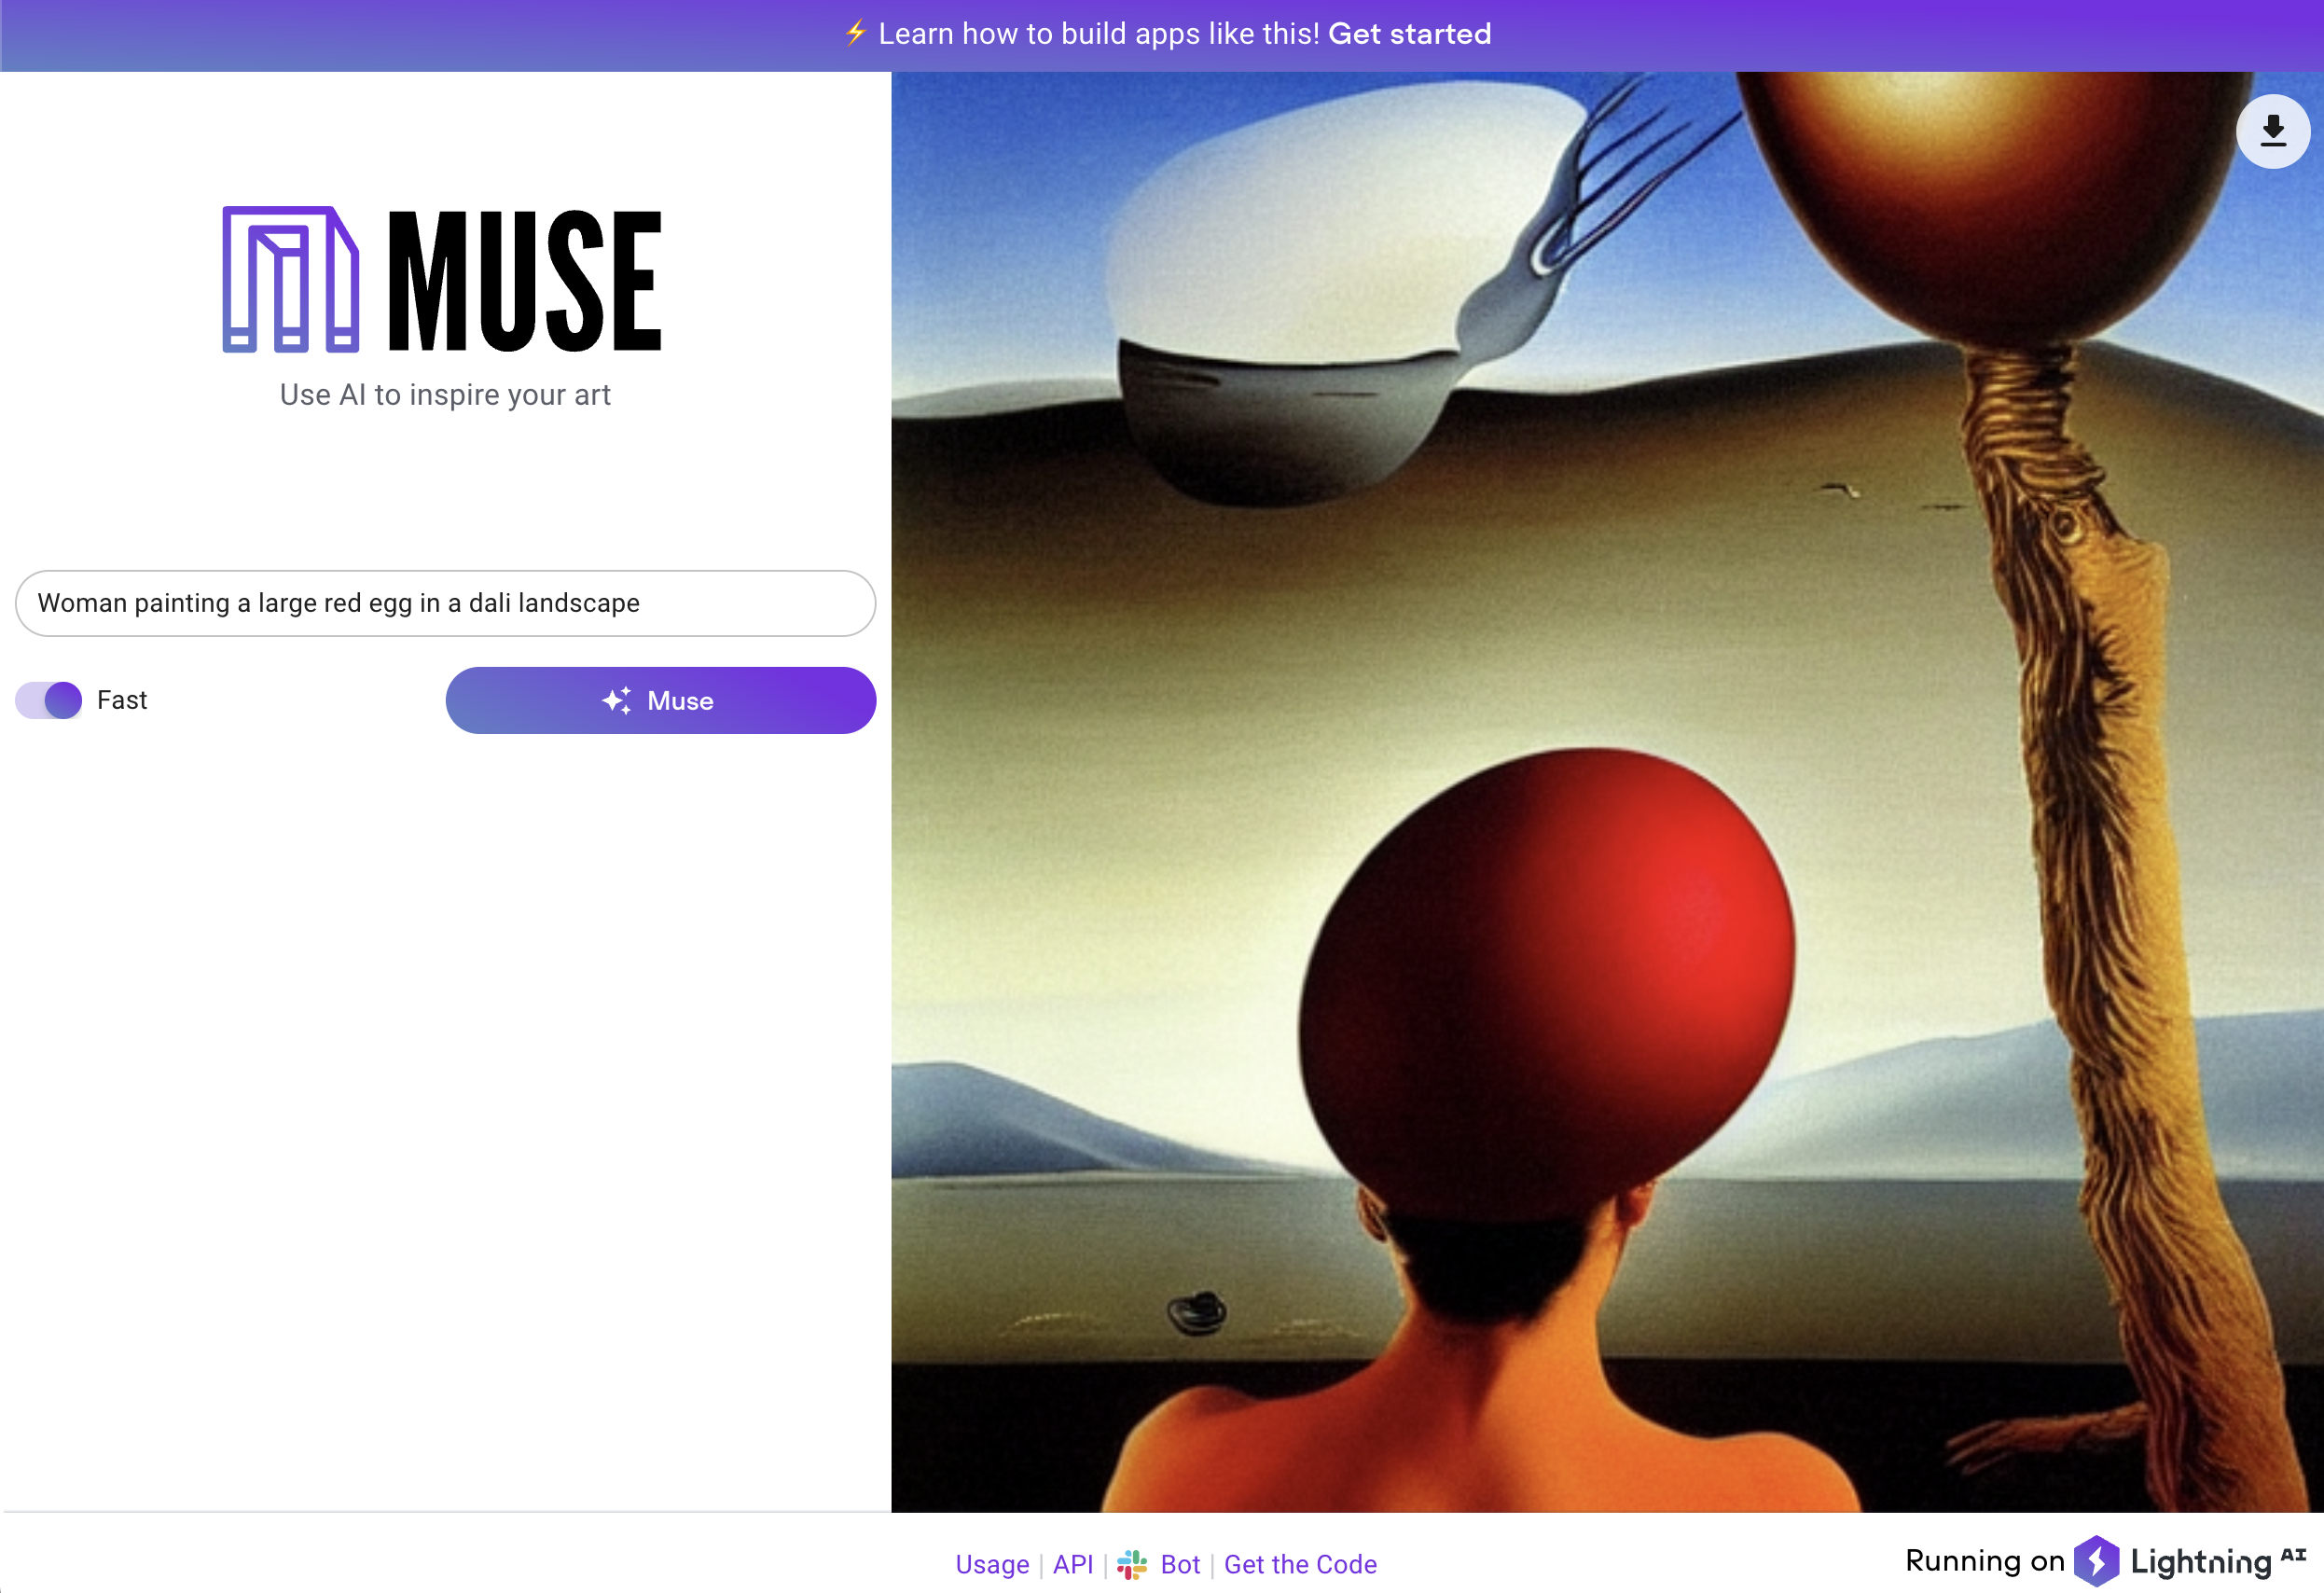
使用AI激发你的艺术灵感
Muse
开源的稳定扩散生产服务器,展示如何在真实生产环境中部署扩散模型,包括:负载均衡、GPU推理、性能测试、微服务编排等。所有这些都可以通过Lightning Apps框架轻松处理。

模型
Muse使用由stability AI提供的开源Stable Diffusion模型。 我们应用了一些巧妙的技巧使推理速度非常快。
这里是展示我们模型服务器的一小段代码片段
    @torch.inference_mode()
    def predict(self, dreams: List[Data], entry_time: int):
        # 处理超时
        if time.time() - entry_time > INFERENCE_REQUEST_TIMEOUT:
            raise TimeoutException()

        # 设置推理参数
        height = width = IMAGE_SIZE
        num_inference_steps = 50 if dreams[0].high_quality else 25

        prompts = [dream.prompt for dream in dreams]

        # GPU推理
        if torch.cuda.is_available():
            with autocast("cuda"):
                torch.cuda.empty_cache()
                pil_results = self._model(
                    prompts,
                    height=height,
                    width=width,
                    num_inference_steps=num_inference_steps,
                )
            # 应用过滤器
            nsfw_content = self._safety_checker(pil_results)
            for i, nsfw in enumerate(nsfw_content):
                if nsfw:
                    pil_results[i] = Image.open("assets/nsfw-warning.png")
        else:
            time.sleep(3)
            pil_results = [Image.fromarray(np.random.randint(0, 255, (height, width, 3), dtype="uint8"))] * len(prompts)

        # 返回模型结果
        results = []
        for image in pil_results:
            buffered = BytesIO()
            image.save(buffered, format="PNG")
            img_str = base64.b64encode(buffered.getvalue()).decode("utf-8")
            # 确保pil_results是单个项目数组,否则会重写图像
            results.append({"image": f"data:image/png;base64,{img_str}"})

        return results
运行你自己的版本
要在本地运行此应用,请按以下步骤操作:
conda create --name muse_app python=3.9 --yes
conda activate muse_app

git clone https://github.com/Lightning-AI/stable-diffusion-deploy.git
cd stable-diffusion-deploy

bash dev_install.sh

## 在本地运行应用
python -m lightning run app app.py

## 在云端运行应用以与同事和用户分享
python -m lightning run app app.py --cloud
你可以配置Muse来选择自定义的工作线程数、批处理大小或选择你喜欢的稳定扩散版本。了解更多。
关于这个Lightning应用
Muse是使用Lightning AI构建基于扩散的生产系统的蓝图。这个应用向你展示了如何:
- 托管多租户前端和后端应用架构
- 完整的React.js UI
- 微服务编排
- 云基础设施预配置
- 通过REST API提供GPU支持的扩散模型服务
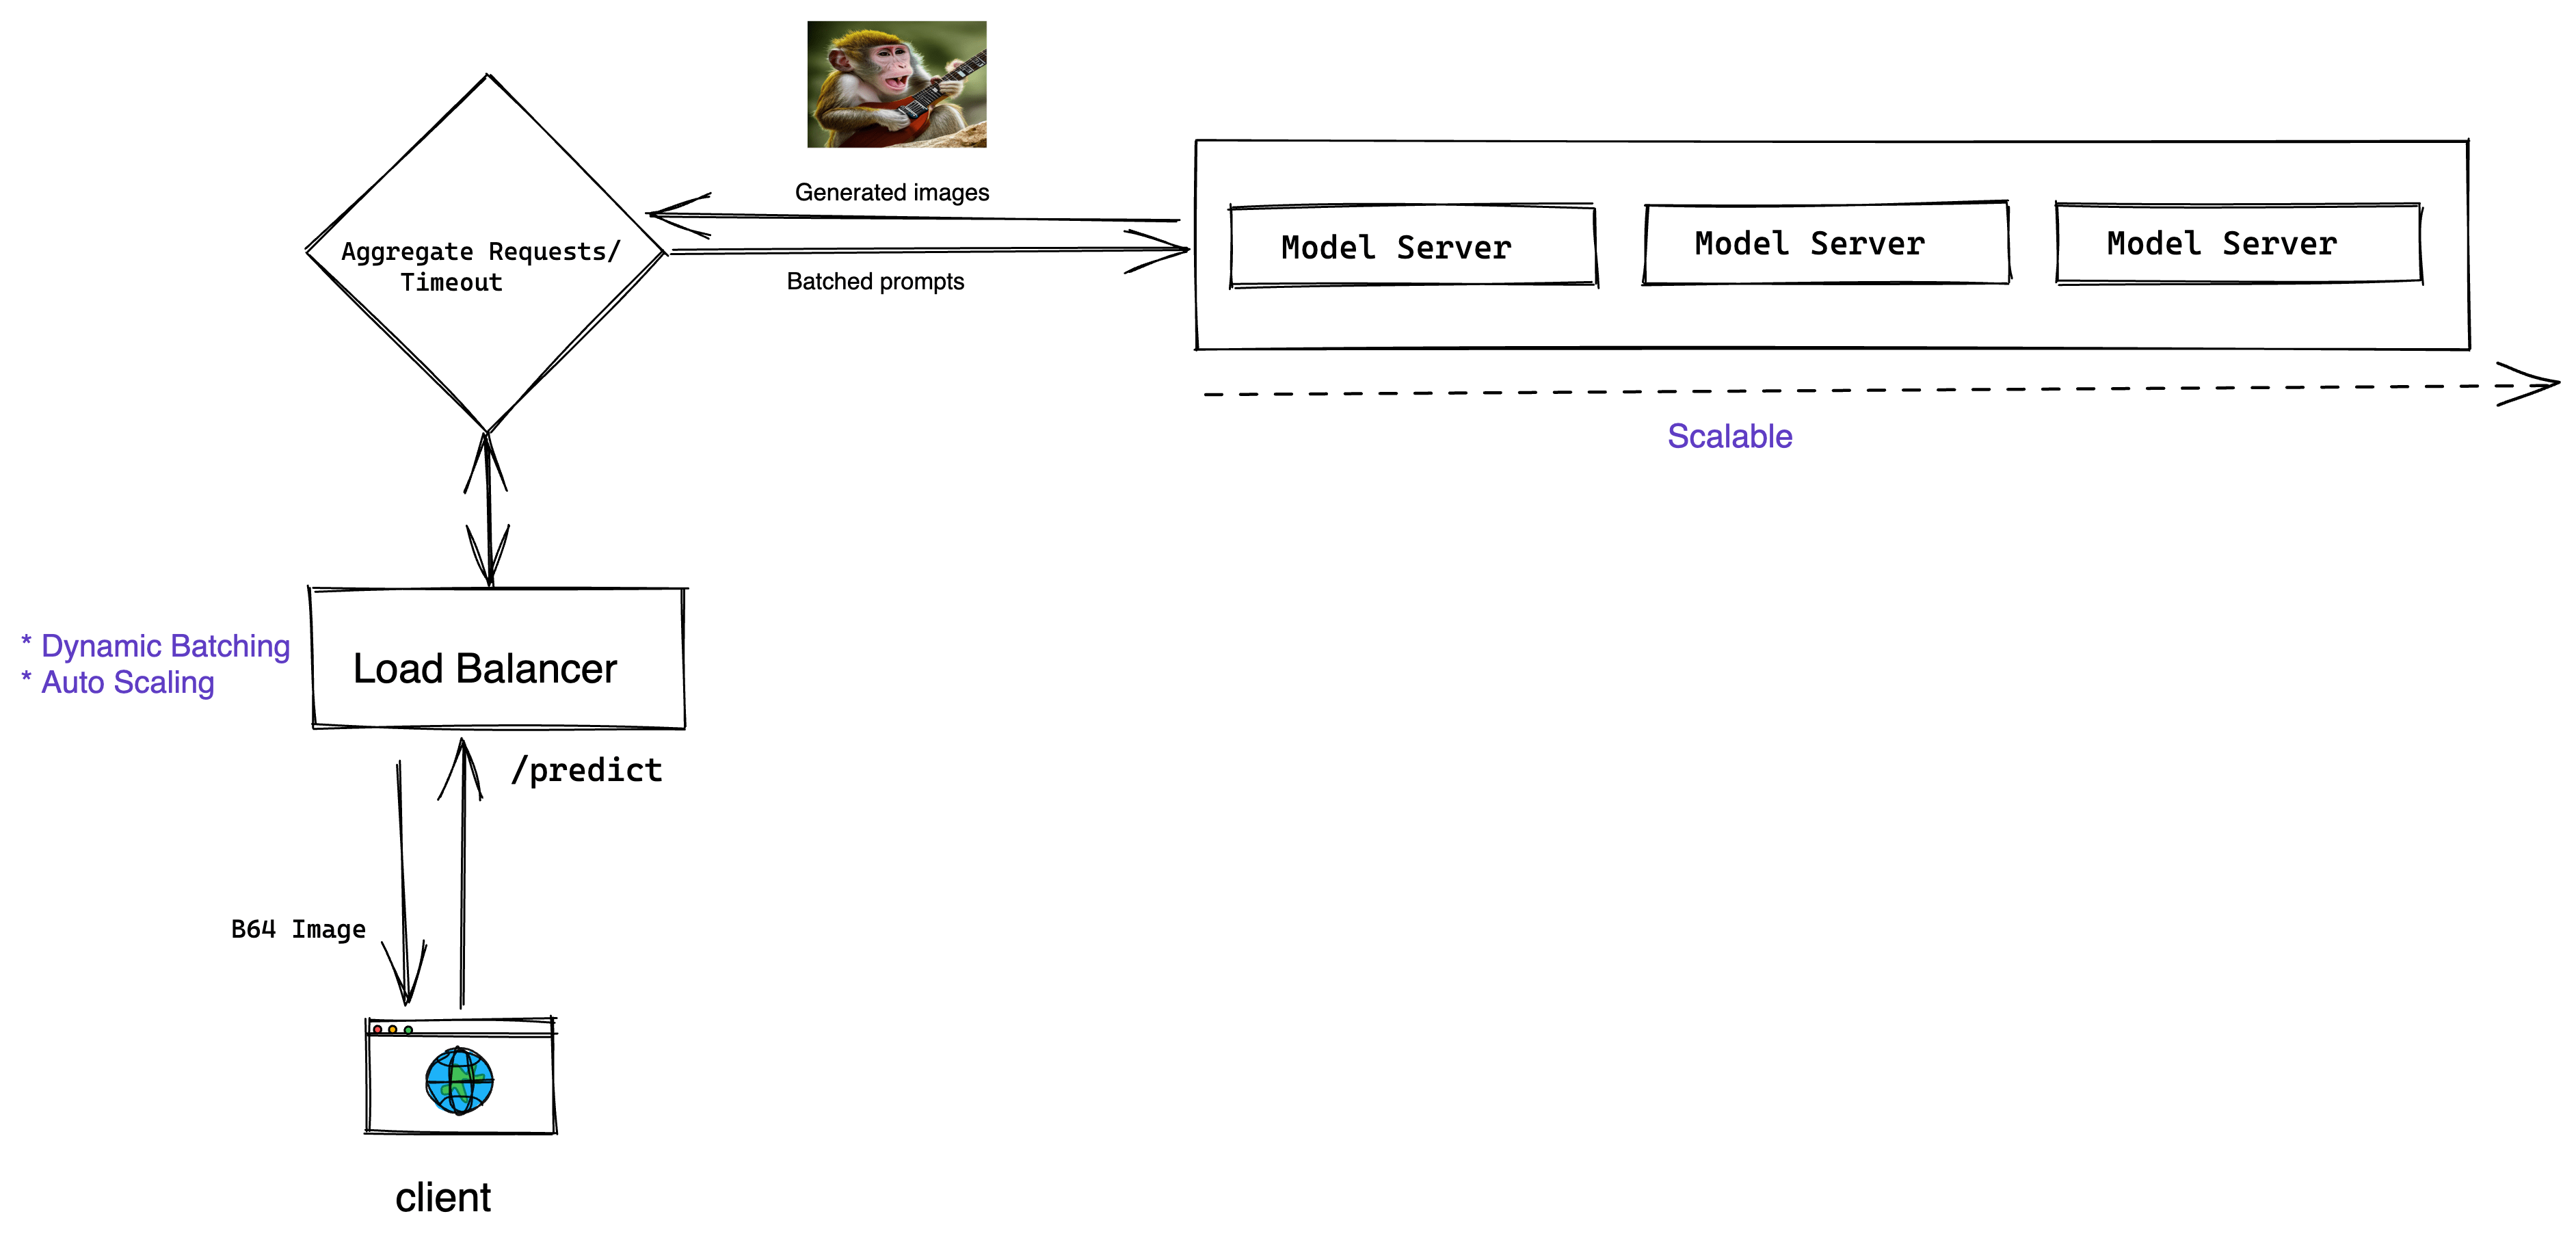
- 推理请求的动态GPU批处理
- 随负载变化自动扩展基础设施的负载均衡器
- 使用Locust进行负载测试的Lightning组件
- 环境变量参数化执行环境
Muse的架构图 -

Slackbot
如何将Muse集成到Slack工作区
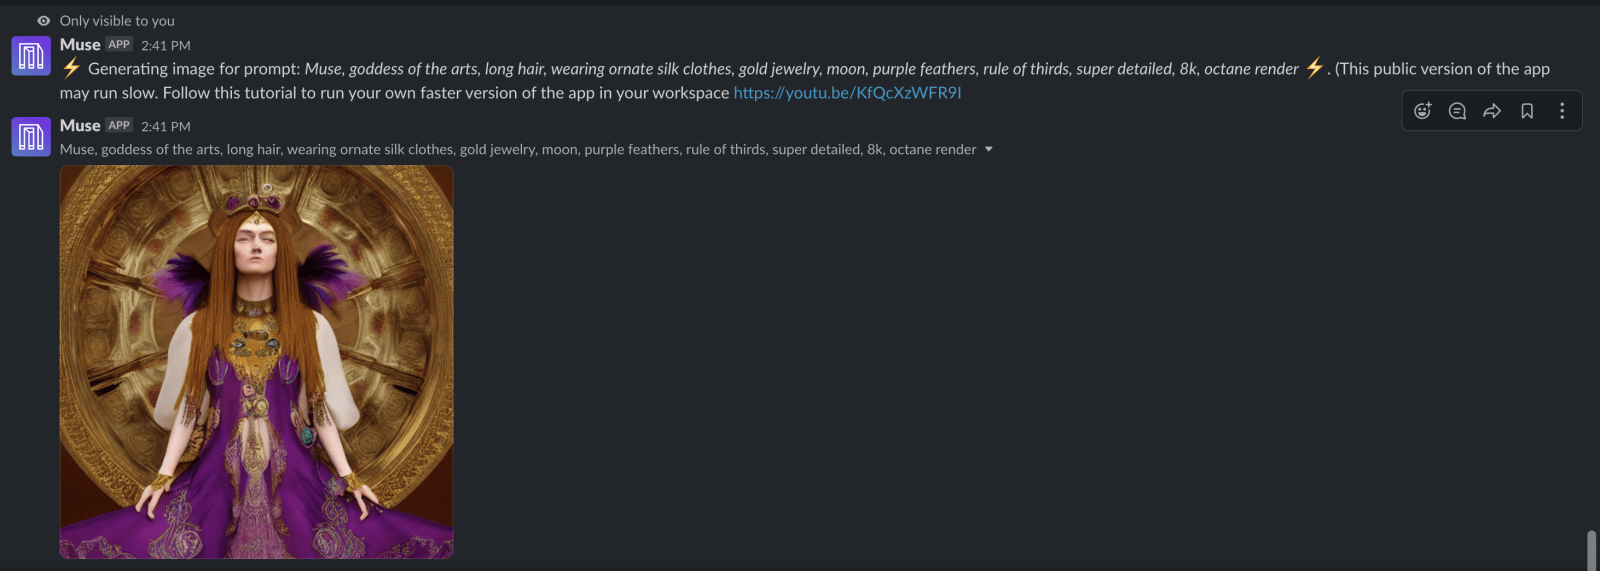
你可以将此应用集成到你的Slack工作区,并在Slack频道中发送图片。
此应用使用Slack命令机器人组件与Slack命令交互。
如何创建Slack命令机器人
步骤1: 前往https://api.slack.com并创建一个应用。
步骤2: 通过访问https://api.slack.com/apps从Slack API设置中复制以下令牌和密钥。这些令牌必须作为参数或环境变量传递给SlackCommandBot类。
所需的令牌名称和环境变量:
- 客户端ID(SLACK_CLIENT_ID)
- 客户端密钥(CLIENT_SECRET)
- 签名密钥(SIGNING_SECRET)
- 机器人用户OAuth令牌(BOT_TOKEN)
- 应用级令牌(SLACK_TOKEN)
步骤3:
实现SlackCommandBot.handle_command(...)方法,以你想要的方式与命令交互。
返回值将只显示给你。
步骤4:(可选)
如果你希望你的Slack应用可以公开分发,那么你需要实现SlackCommandBot.save_new_workspace(...),它应该将team_id及其对应的bot_token保存到数据库中。
在handle_command(...)方法中,你需要根据接收到的team_id获取bot_token。

 访问官网
访问官网 Github
 文档
文档


