ResAdapter: 扩散模型的域一致性分辨率适配器
程家祥、谢盼*、夏鑫、李嘉实、吴杰、任宇熙、李慧霞、肖雪峰、郑敏、傅联(*通讯作者)
字节跳动自动机器学习部门
⭐ 如果ResAdapter对您的图像或项目有帮助,请给这个仓库点个星。谢谢!🤗
我们提出了ResAdapter,一个即插即用的分辨率适配器,可以使任何扩散模型生成自由分辨率的图像:无需额外训练,无需额外推理,无需风格迁移。

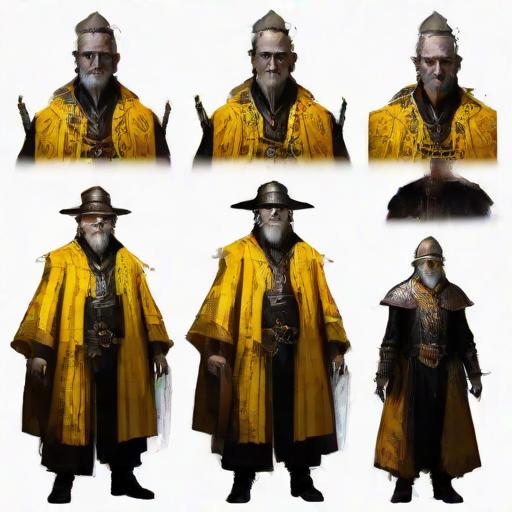
 ResAdapter与dreamlike-diffusion-1.0的对比示例。
发布
[2024/04/07]🔥 我们在Huggingface上发布了官方gradio空间。[2024/04/05]🔥 我们发布了resadapter_v2权重。[2024/03/30]🔥 我们发布了ComfyUI-ResAdapter。[2024/03/28]🔥 我们发布了resadapter_v1权重。[2024/03/04]🔥 我们发布了arxiv论文。
快速上手
我们提供了一个独立的示例代码,帮助您快速使用ResAdapter与扩散模型。
# pip install diffusers, transformers, accelerate, safetensors, huggingface_hub
import torch
from torchvision.utils import save_image
from safetensors.torch import load_file
from huggingface_hub import hf_hub_download
from diffusers import AutoPipelineForText2Image, DPMSolverMultistepScheduler

generator = torch.manual_seed(0)
prompt = "肌肉发达的胡子男子的肖像照片,穿着破旧的机甲装,轻微散景,复杂精致,钢铁质感,优雅,清晰聚焦,柔和光线,鲜艳色彩"
width, height = 640, 384

# 加载基准管道
model_name = "lykon-models/dreamshaper-xl-1-0"
pipe = AutoPipelineForText2Image.from_pretrained(model_name, torch_dtype=torch.float16, variant="fp16").to("cuda")
pipe.scheduler = DPMSolverMultistepScheduler.from_config(pipe.scheduler.config, use_karras_sigmas=True, algorithm_type="sde-dpmsolver++")

# 基准管道推理
image = pipe(prompt, width=width, height=height, num_inference_steps=25, num_images_per_prompt=4, output_type="pt").images
save_image(image, f"image_baseline.png", normalize=True, padding=0)

# 为基准加载ResAdapter
resadapter_model_name = "resadapter_v1_sdxl"
pipe.load_lora_weights(
    hf_hub_download(repo_id="jiaxiangc/res-adapter", subfolder=resadapter_model_name, filename="pytorch_lora_weights.safetensors"),
    adapter_name="res_adapter",
    ) # 加载LoRA权重
pipe.set_adapters(["res_adapter"], adapter_weights=[1.0])
pipe.unet.load_state_dict(
    load_file(hf_hub_download(repo_id="jiaxiangc/res-adapter", subfolder=resadapter_model_name, filename="diffusion_pytorch_model.safetensors")),
    strict=False,
    ) # 加载归一化权重

# ResAdapter管道推理
image = pipe(prompt, width=width, height=height, num_inference_steps=25, num_images_per_prompt=4, output_type="pt").images
save_image(image, f"image_resadapter.png", normalize=True, padding=0)
下载
模型
我们已发布所有ResAdapter权重,您可以从Huggingface下载ResAdapter模型。以下是我们的ResAdapter模型卡:
| 模型 | 参数量 | 分辨率范围 | 比例范围 | 链接 |
|---|---|---|---|---|
| resadapter_v2_sd1.5 | 0.9M | 128 <= x <= 1024 | 0.28 <= r <= 3.5 | 下载 |
| resadapter_v2_sdxl | 0.5M | 256 <= x <= 1536 | 0.28 <= r <= 3.5 | 下载 |
| resadapter_v1_sd1.5 | 0.9M | 128 <= x <= 1024 | 0.5 <= r <= 2 | 下载 |
| resadapter_v1_sd1.5_extrapolation | 0.9M | 512 <= x <= 1024 | 0.5 <= r <= 2 | 下载 |
| resadapter_v1_sd1.5_interpolation | 0.9M | 128 <= x <= 512 | 0.5 <= r <= 2 | 下载 |
| resadapter_v1_sdxl | 0.5M | 256 <= x <= 1536 | 0.5 <= r <= 2 | 下载 |
| resadapter_v1_sdxl_extrapolation | 0.5M | 1024 <= x <= 1536 | 0.5 <= r <= 2 | 下载 |
| resadapter_v1_sdxl_interpolation | 0.5M | 256 <= x <= 1024 | 0.5 <= r <= 2 | 下载 |
提示1:我们根据controlnet更新了resadapter的命名格式。
提示2:如果你想将resadapter与个性化扩散模型一起使用,你应该从CivitAI下载它们。
提示3:如果你想将resadapter与ip-adapter、controlnet和lcm-lora一起使用,你应该从Huggingface下载它们。
提示4:这里有一个安装指南,用于准备环境和下载模型。
推理
如果你想在我们的推理脚本中生成图像,你应该按照安装指南安装依赖库并下载相关模型。在填写示例配置后,你可以直接运行这个脚本。
python main.py --config /path/to/file
ResAdapter与个性化模型用于文本到图像生成


resadapter与dreamshaper-7的对比示例(960x1104)。上:使用resadapter。下:不使用resadapter。
ResAdapter与ControlNet用于图像到图像生成


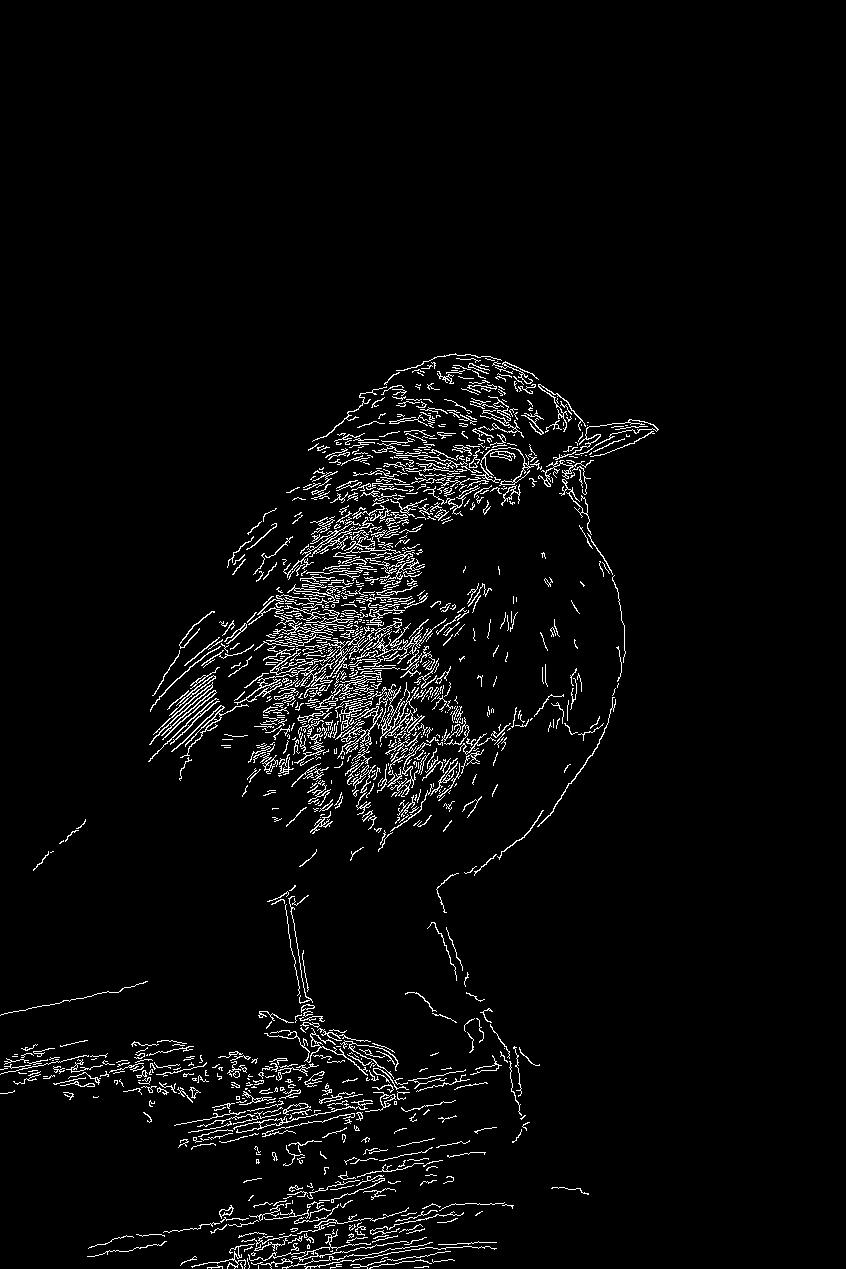
resadapter与lllyasviel/sd-controlnet-canny的对比示例(840x1264)。上:使用resadapter,下:不使用resadapter。
ResAdapter与ControlNet-XL用于图像到图像生成
ResAdapter与IP-Adapter结合实现人脸变化
ResAdapter与LCM-LoRA结合实现加速


resadapter与dreamshaper-xl-1.0(使用lcm-sdxl-lora)之间的对比示例(512x512)。上:使用resadapter,下:不使用resadapter。
社区资源
Gradio
- Replicate网站:bytedance/res-adapter(由@Chenxi提供)
- Hugging Face空间:
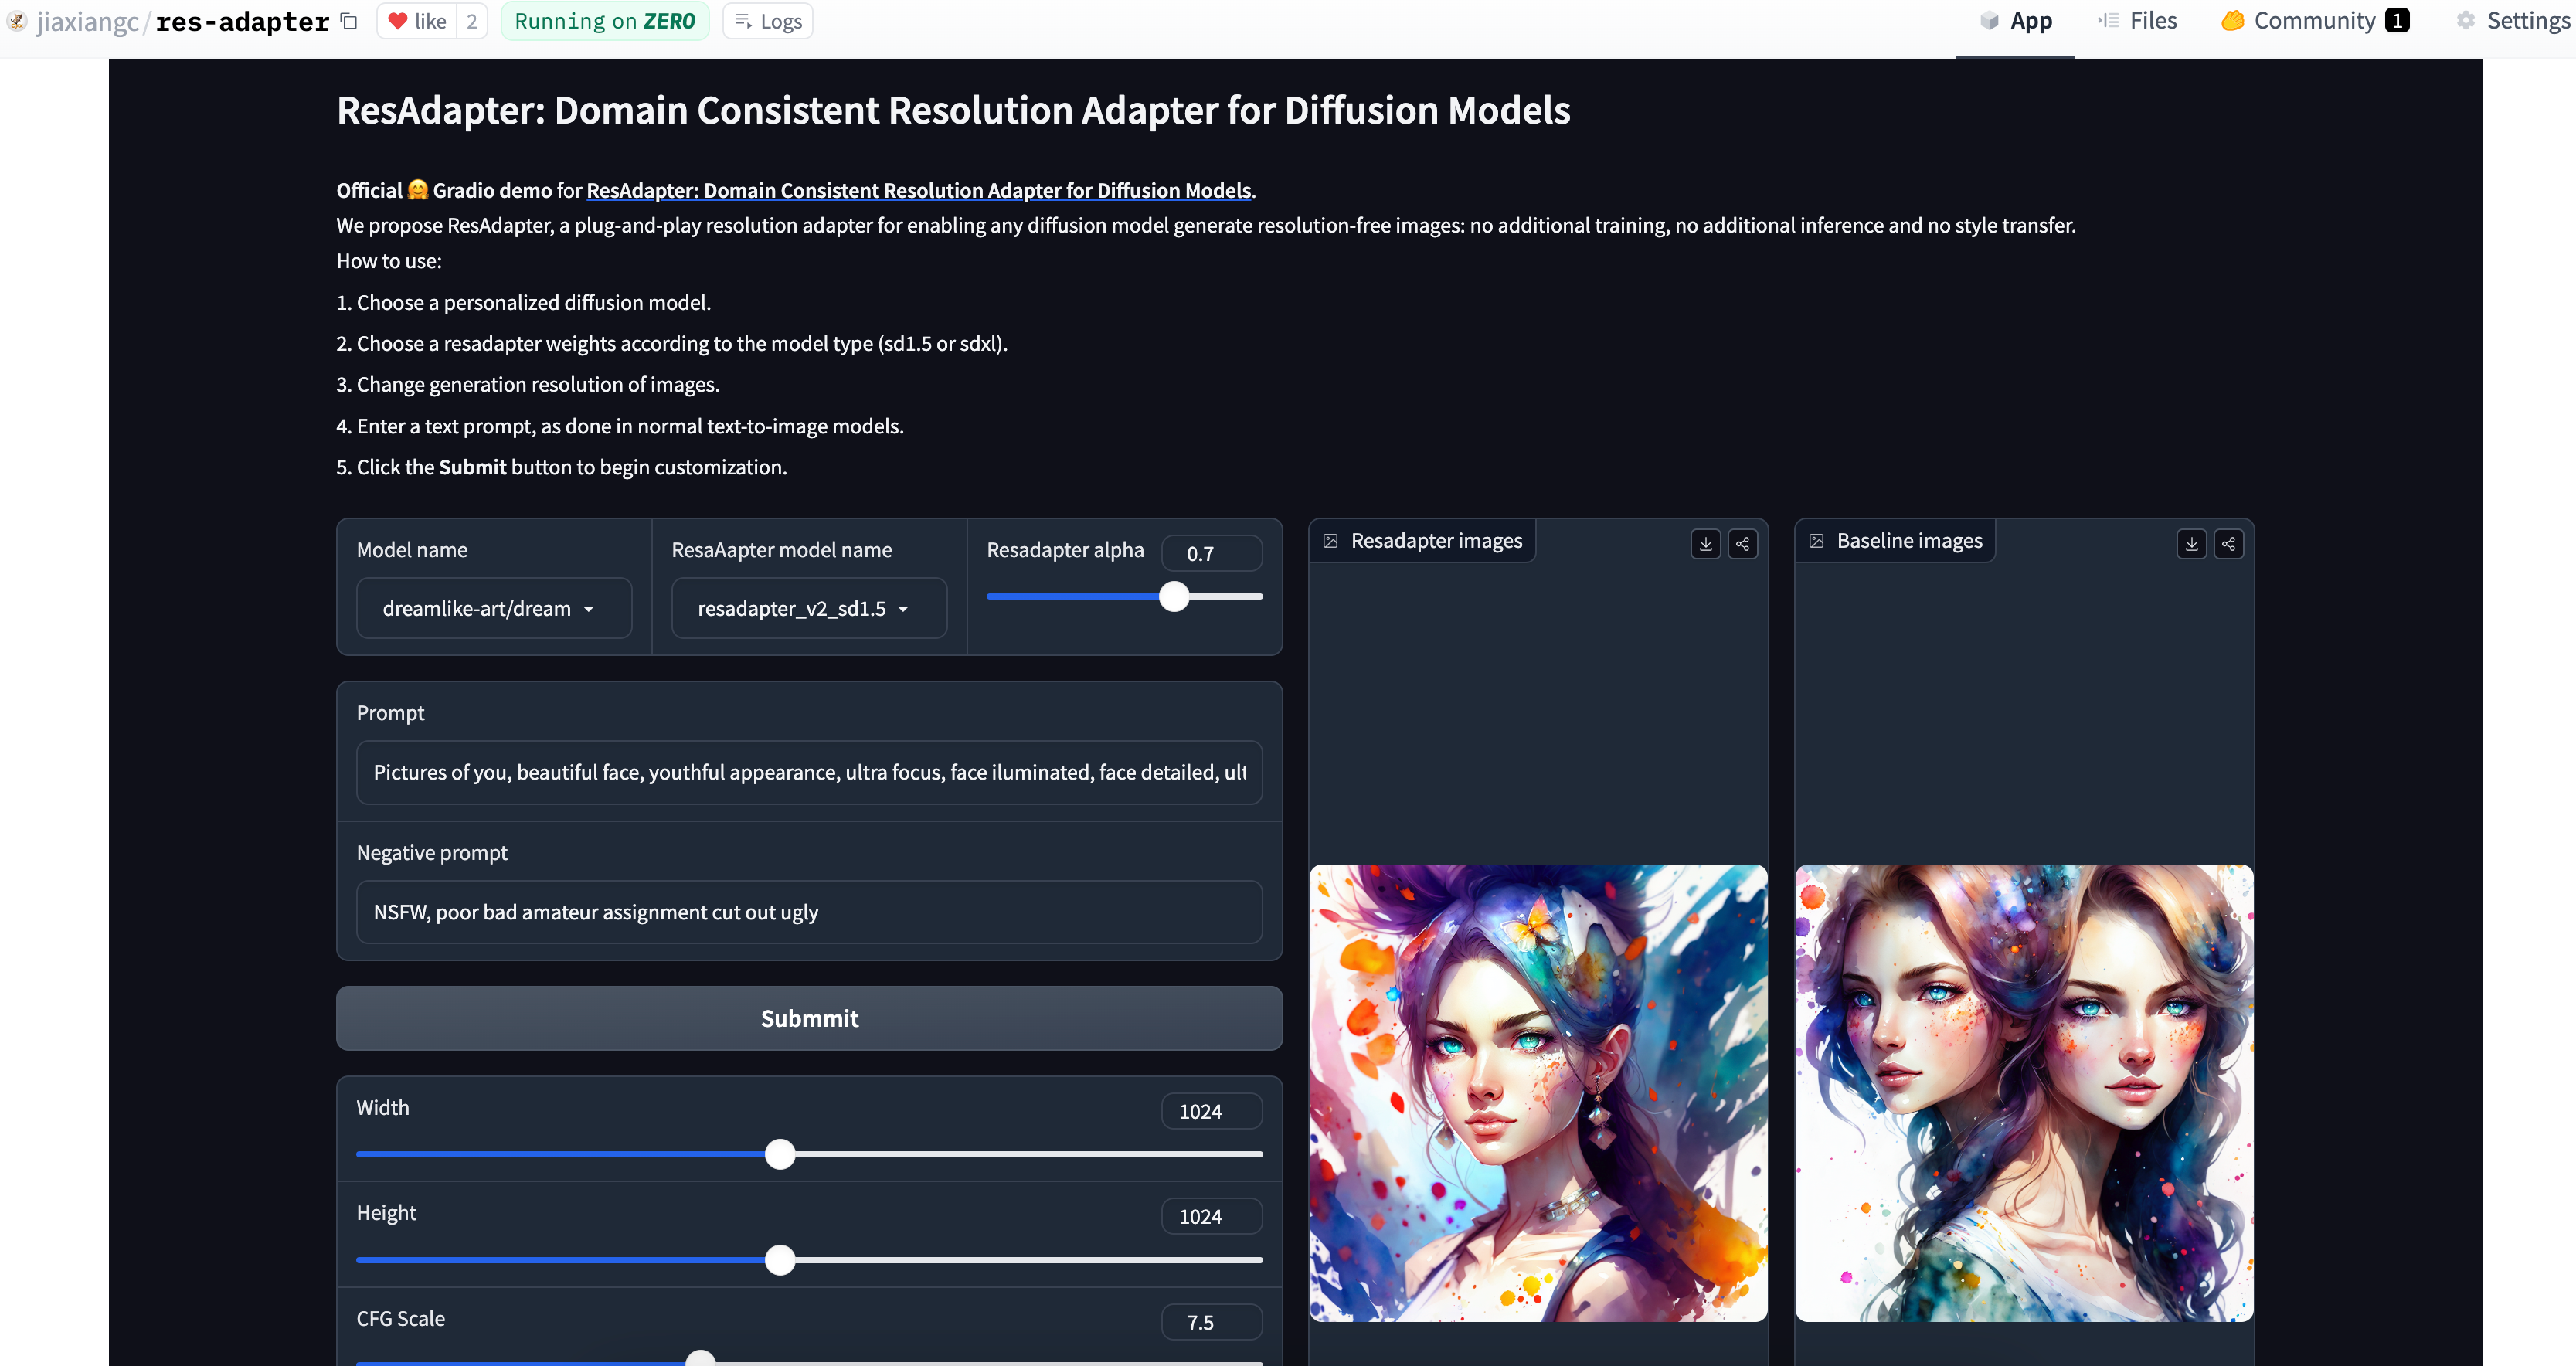
Hugging Face空间中关于res-adapter的文本到图像示例。更多信息请参考jiaxiangc/res-adapter。

ComfyUI
- jiaxiangc/ComfyUI-ResAdapter(官方ComfyUI节点)
- blepping/ComfyUI-ApplyResAdapterUnet(由@blepping开发)
这是一个关于ComfyUI-ResAdapter的文本到图像示例。更多关于lcm-lora、controlnet和ipadapter的示例可以在ComfyUI-ResAdapter中找到。
WebUI
我正在学习如何制作WebUI扩展。
本地Gradio演示
运行以下脚本:
# pip install peft, gradio, httpx==0.23.3
python app.py
使用技巧
- 如果对插值图像不满意,尝试将ResAdapter的alpha值增加到1.0。
- 如果对外推图像不满意,尝试选择ResAdapter的alpha值在0.3到0.7之间。
- 如果发现图像风格冲突,尝试降低ResAdapter的alpha值。
- 如果发现ResAdapter与其他加速LoRA不兼容,尝试将ResAdapter的alpha值降低到0.5到0.7之间。
致谢
- ResAdapter由字节跳动Inc.自动机器学习团队开发,保留所有版权。
- 感谢HuggingFaceGradio团队提供的免费GPU支持!
- 感谢IP-Adapter、ControlNet和LCM-LoRA的出色工作。
- 感谢@Chenxi和@AMEERAZAM08提供Gradio演示。
- 感谢@fengyuzzz在ComfyUI-ResAdapter中支持视频演示。
Star历史
引用
如果您发现ResAdapter对您的研究和应用有用,请使用以下BibTeX引用我们:
@article{cheng2024resadapter,
  title={ResAdapter: Domain Consistent Resolution Adapter for Diffusion Models},
  author={Cheng, Jiaxiang and Xie, Pan and Xia, Xin and Li, Jiashi and Wu, Jie and Ren, Yuxi and Li, Huixia and Xiao, Xuefeng and Zheng, Min and Fu, Lean},
  booktitle={arXiv preprint arxiv:2403.02084},
  year={2024}
}
如有任何问题,请随时通过chengjiaxiang@bytedance.com或xiepan.01@bytedance.com与我们联系。

 访问官网
访问官网 Github
 Huggingface
 论文
论文


