What is SimpleWebXR ?
SimpleWebXR is a lightweight library that exposes the WebXR javascript API in your C# Unity code. Thus, after a Unity WebGL build, your app can do augmented or virtual reality in the browser.
👁️ Watch to be notified of latest updates !
Star History
Compatible browsers
Works on :
- Google Chrome on Android (:warning: a secure https connection is required)
- Edge on Windows 10 for Mixed Reality Headsets
- Edge on Hololens 2
- Firefox Reality on Hololens 2
- Mozilla WebXR Viewer on iOS (:warning: WebGL 2.0 should be disabled, it's a Webkit experimental feature)
- Oculus Browser on Oculus Quest 1 and 2
- Firefox emulator on desktop
- Chrome emulator on desktop
Integration examples
MRTK
Mixed Reality Toolkit is a Microsoft-driven project that provides a set of components and features, used to accelerate cross-platform MR app development in Unity. It supports Hololens, Windows Mixed Reality headset, OpenVR, Ultraleap, Mobile devices and now WebXR !
The files in directory /SimpleWebXR-Demo/Assets/SimpleWebXR/Scripts/MRTK add WebXR capabilities to MRTK with the following functions: controller tracking, hand tracking, hand ray, index pointer, grip pointer and spatial pointer. Teleportation could be added.
LIVE DEMO:
- Hand interaction : ▶️ https://rufus31415.github.io/webxr/MRTK-HandInteraction
- Color picker : ▶️ https://rufus31415.github.io/webxr/MRTK-ColorPicker
- Elastic menus : ▶️ https://rufus31415.github.io/webxr/MRTK-ElasticSystem
- Hand coach : ▶️ https://rufus31415.github.io/webxr/MRTK-HandCoach
- Hand menu : ▶️ https://rufus31415.github.io/webxr/MRTK-HandMenuLayout
- Material gallery : ▶️ https://rufus31415.github.io/webxr/MRTK-MaterialGallery
- Scrolling menus : ▶️ https://rufus31415.github.io/webxr/MRTK-ScrollingObjectCollection
- Solvers : ▶️ https://rufus31415.github.io/webxr/MRTK-Solver
| Hololens 2 | Oculus Quest |
|---|---|
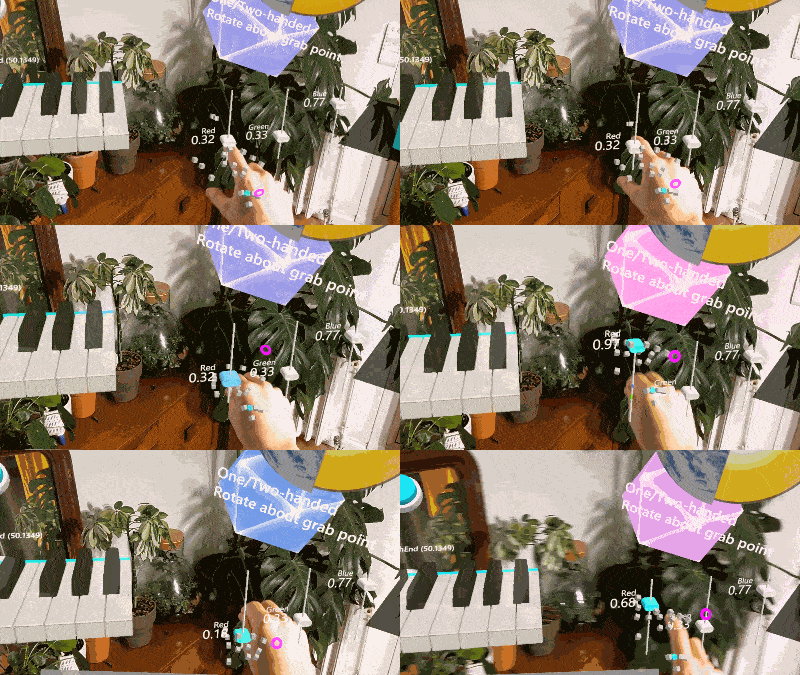 | 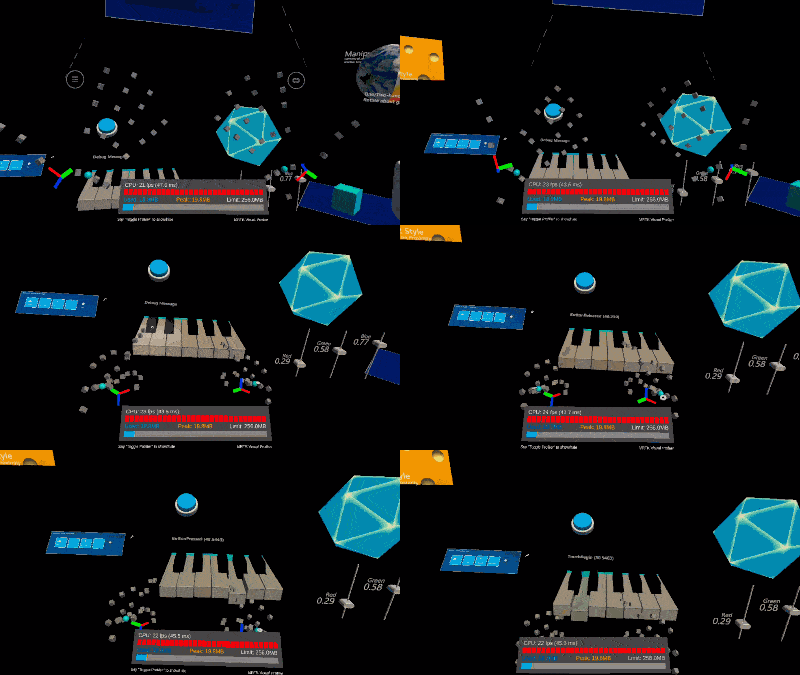 |
| iOS | Emulator |
|---|---|
 | 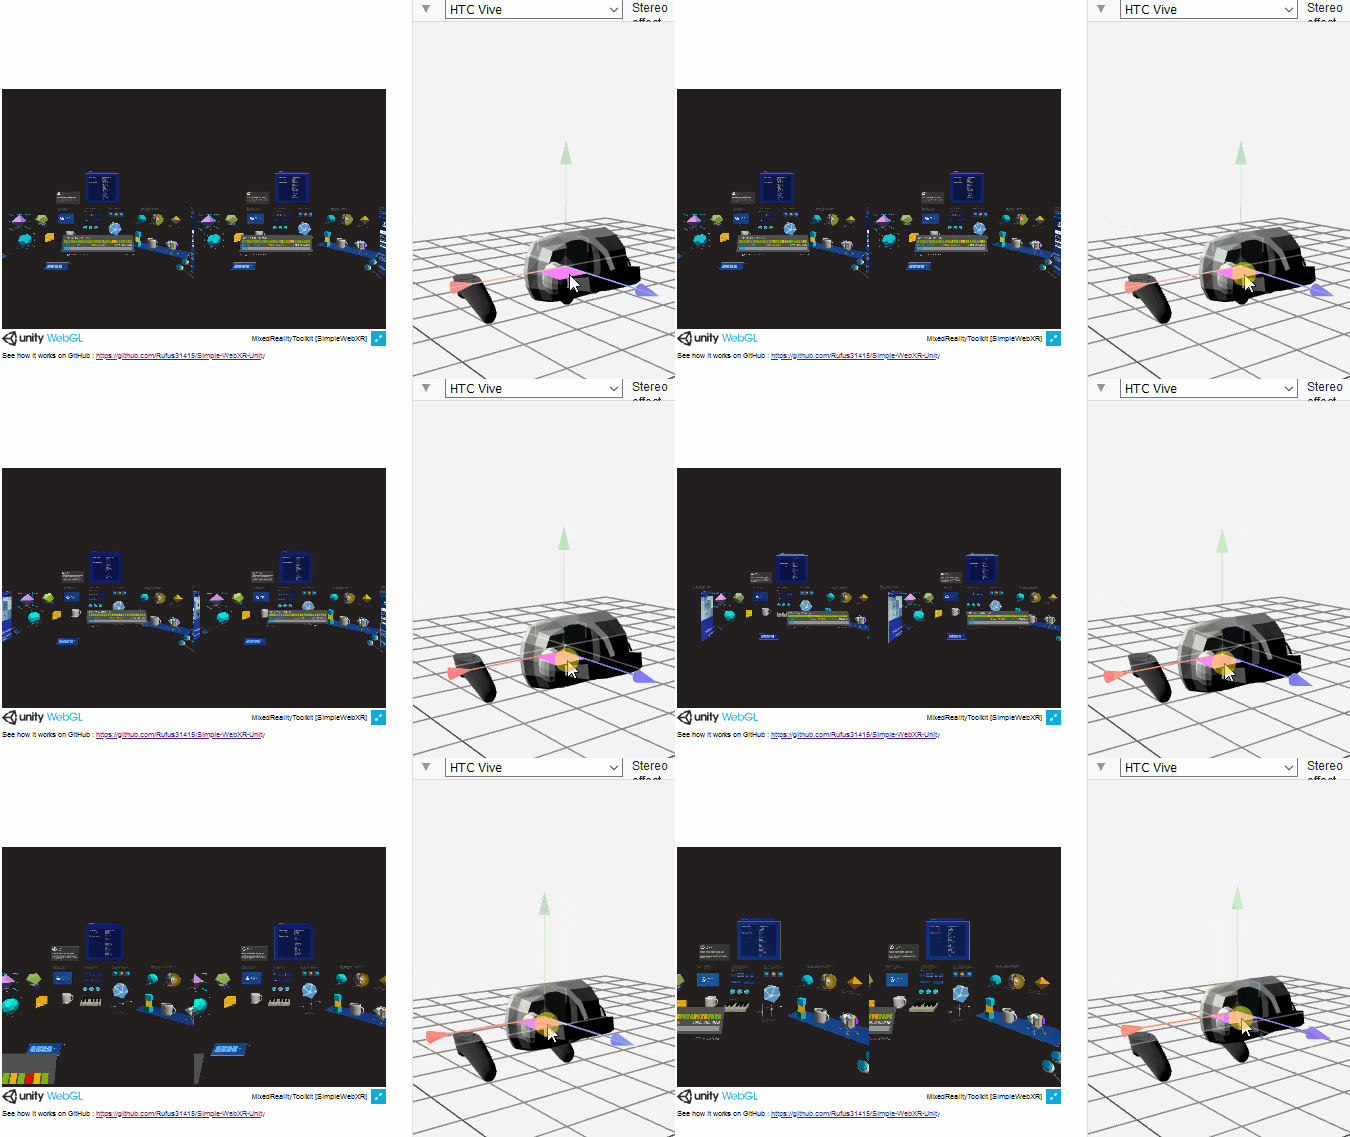 |
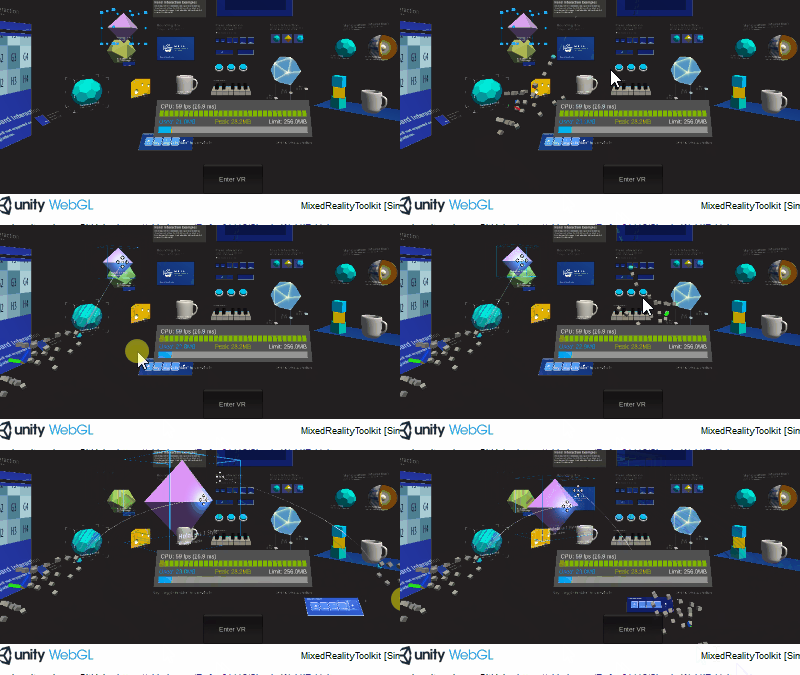
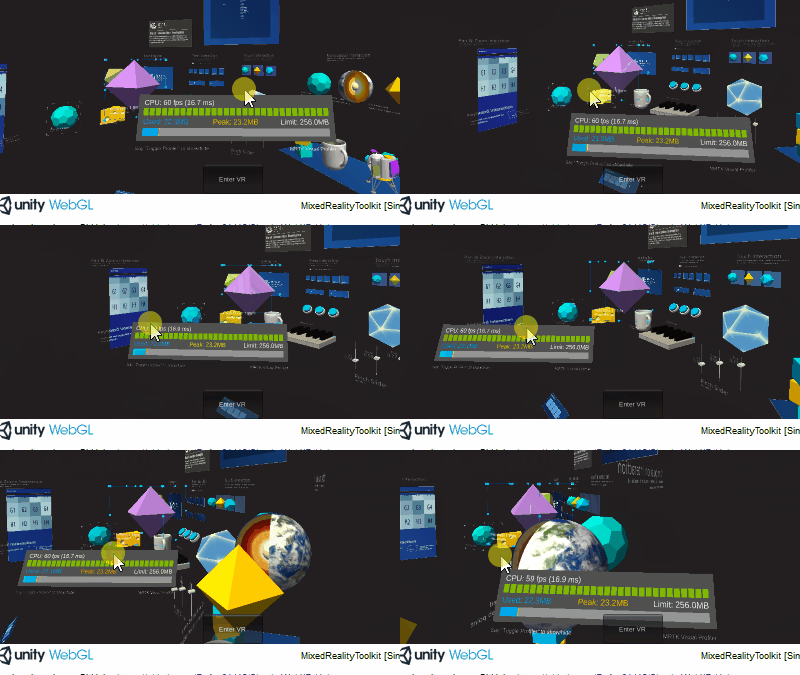
Fun simulation features in browser, you can simulate your Hololens, like in Unity editor :
| Mouse interaction | Hand simulation (MAJ/SPACE and T/Y) | Scene navigation |
|---|---|---|
 |  |  |
MRTK version : 2.6.1
Simple hand tracking
SimpleWebXR supports hand tracking. This example displays a sphere on each joint of the detected hands. The radius of this sphere is given by the device. It was tested on Hololens 2 and Oculus Quest.
You need to set flags to enable hand tracking. In firefox reality, open setting panel and set dom.webxr.hands.enabled to true. In Oculus Browser, visit chrome://flags/ and enable #webxr-hands.
LIVE DEMO : ▶️ https://rufus31415.github.io/webxr/HandDetectionExample/
![]()
Spectator view
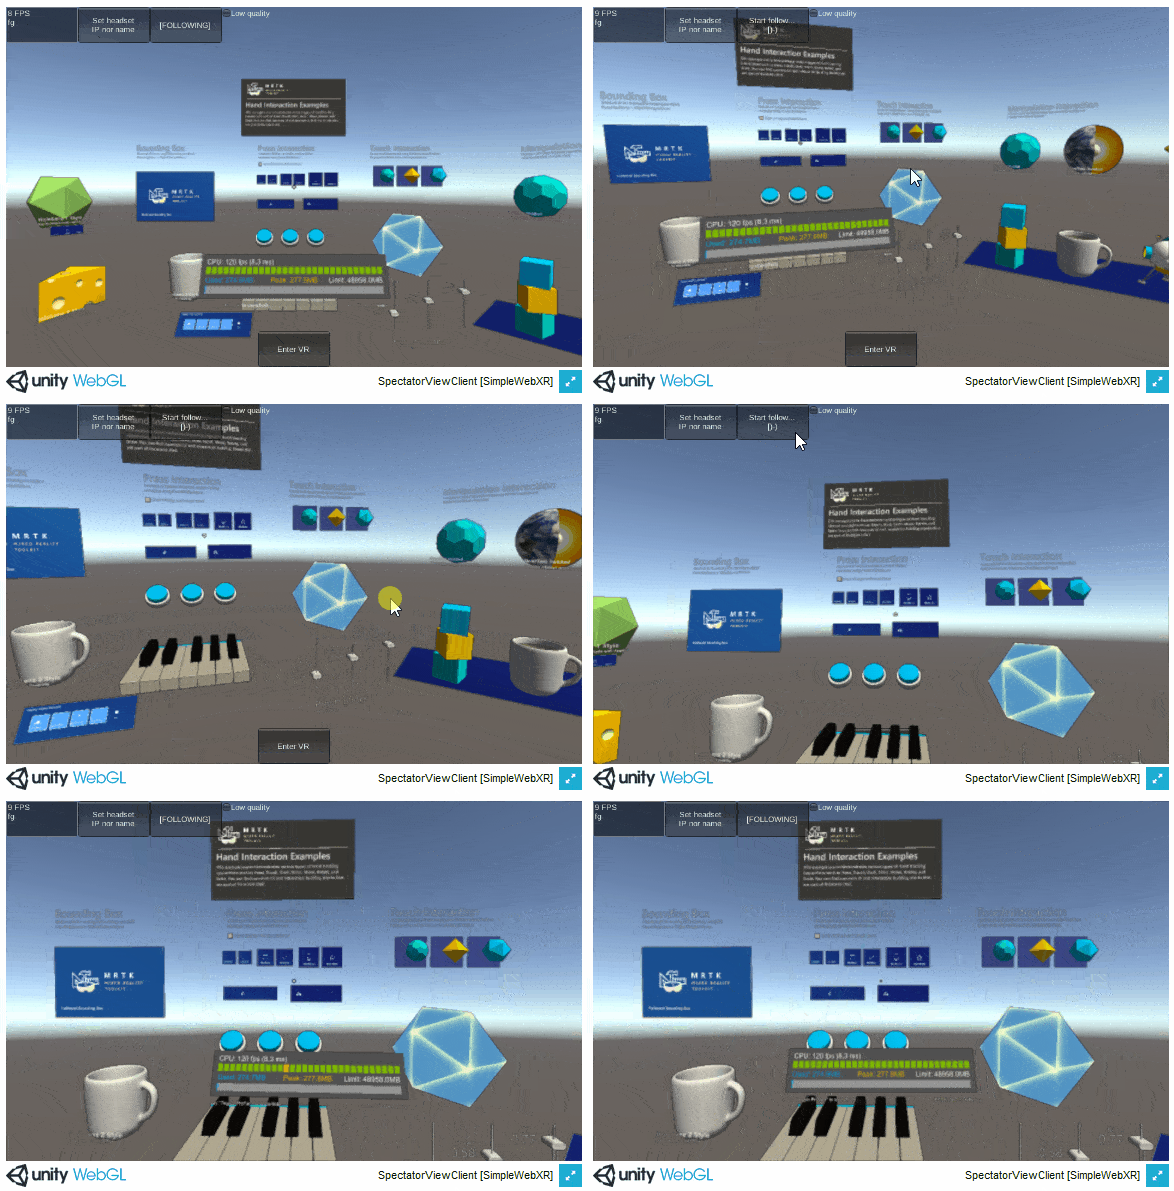
When wearing a HoloLens, we often forget that a person who does not have it on is unable to experience the wonders that we can. Spectator View allows others to see on a 2D screen what a HoloLens user sees in their world. This Microsoft project is a native spectator view app for iOS and Android. But here, the spectator view is in your browser. WebXR is optional because you can walk around the Hololens space with the keyboard and mouse.
LIVE DEMO : ▶️ https://rufus31415.github.io/sandbox/simple-webxr-spectator/
DOWNLOAD : ⏬ Hololens 2 ARM appx and dependencies
Scene for Hololens 2 (MRTK) : /Assets/SimpleWebXR/Scenes/ SpectatorViewHololens2Server.unity. To compile, this scene, do not use UWP SDK 19041, it has socket server issues.
Unity scene for Mobile (WebGL) : /Assets/SimpleWebXR/Scenes/ SpectatorViewWebXRClient.unity
| Mobile | Move in Hololens space with mouse/keyboard or Follow user head |
|---|---|
 |  |
Comparison with Microsoft solution :
| Simple WebXR Spectator view | Microsoft native spectator view | |
|---|---|---|
| iOS | YES : WebXR Viewer, Safari or Chrome (move in Hololens space with touch screen) | YES (ARKit) |
| Android | YES (Chrome) | YES (ARCore) |
| Desktop | YES, you can move in hololens space with mouse and keyboard | NO |
| Communication Mobile/Hololens | Websocket | WebRTC |
| FPS | 10 | 60 |
| Calibration | Touch the screen | Scan a QR Code |
| Experimental | YES | NO |
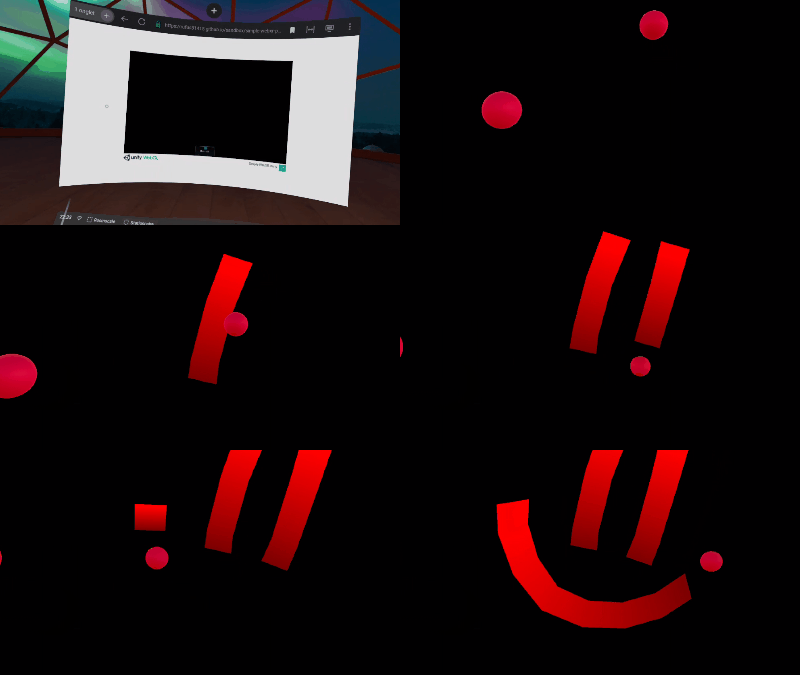
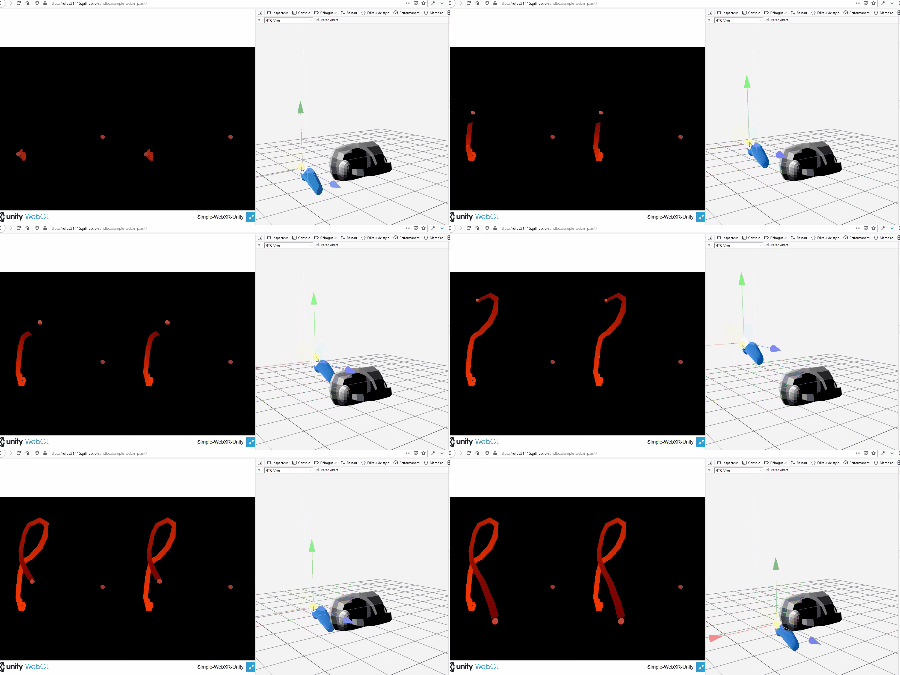
Paint example
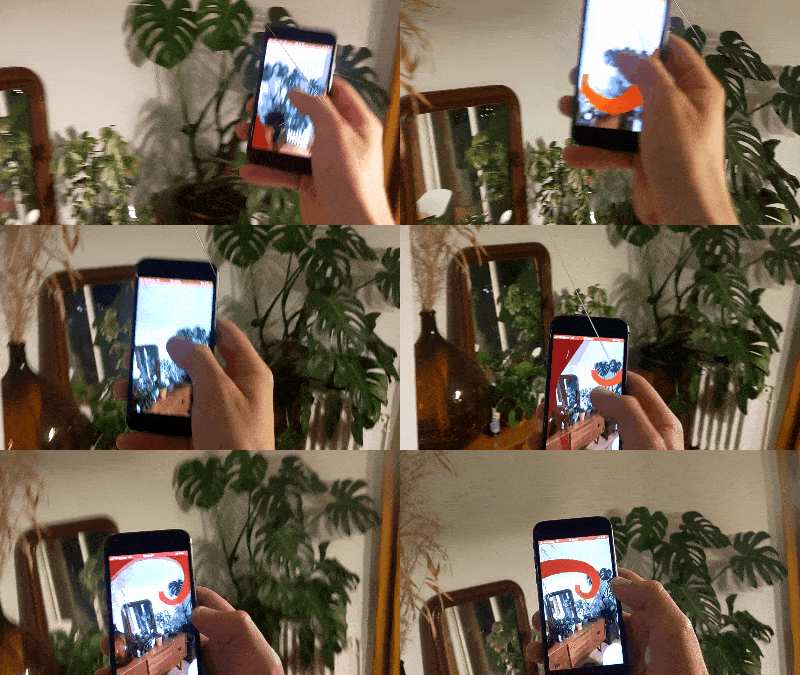
This is a very basic example on how to use Simple WebXR. It uses Unity Line Renderer to draw lines in space with your hands/controllers.
LIVE DEMO : ▶️ https://rufus31415.github.io/webxr/PaintExample/
| Android | Hololens 2 | iOS | Quest | Emulator |
|---|---|---|---|---|
 |  |  |  |  |
Sources are here
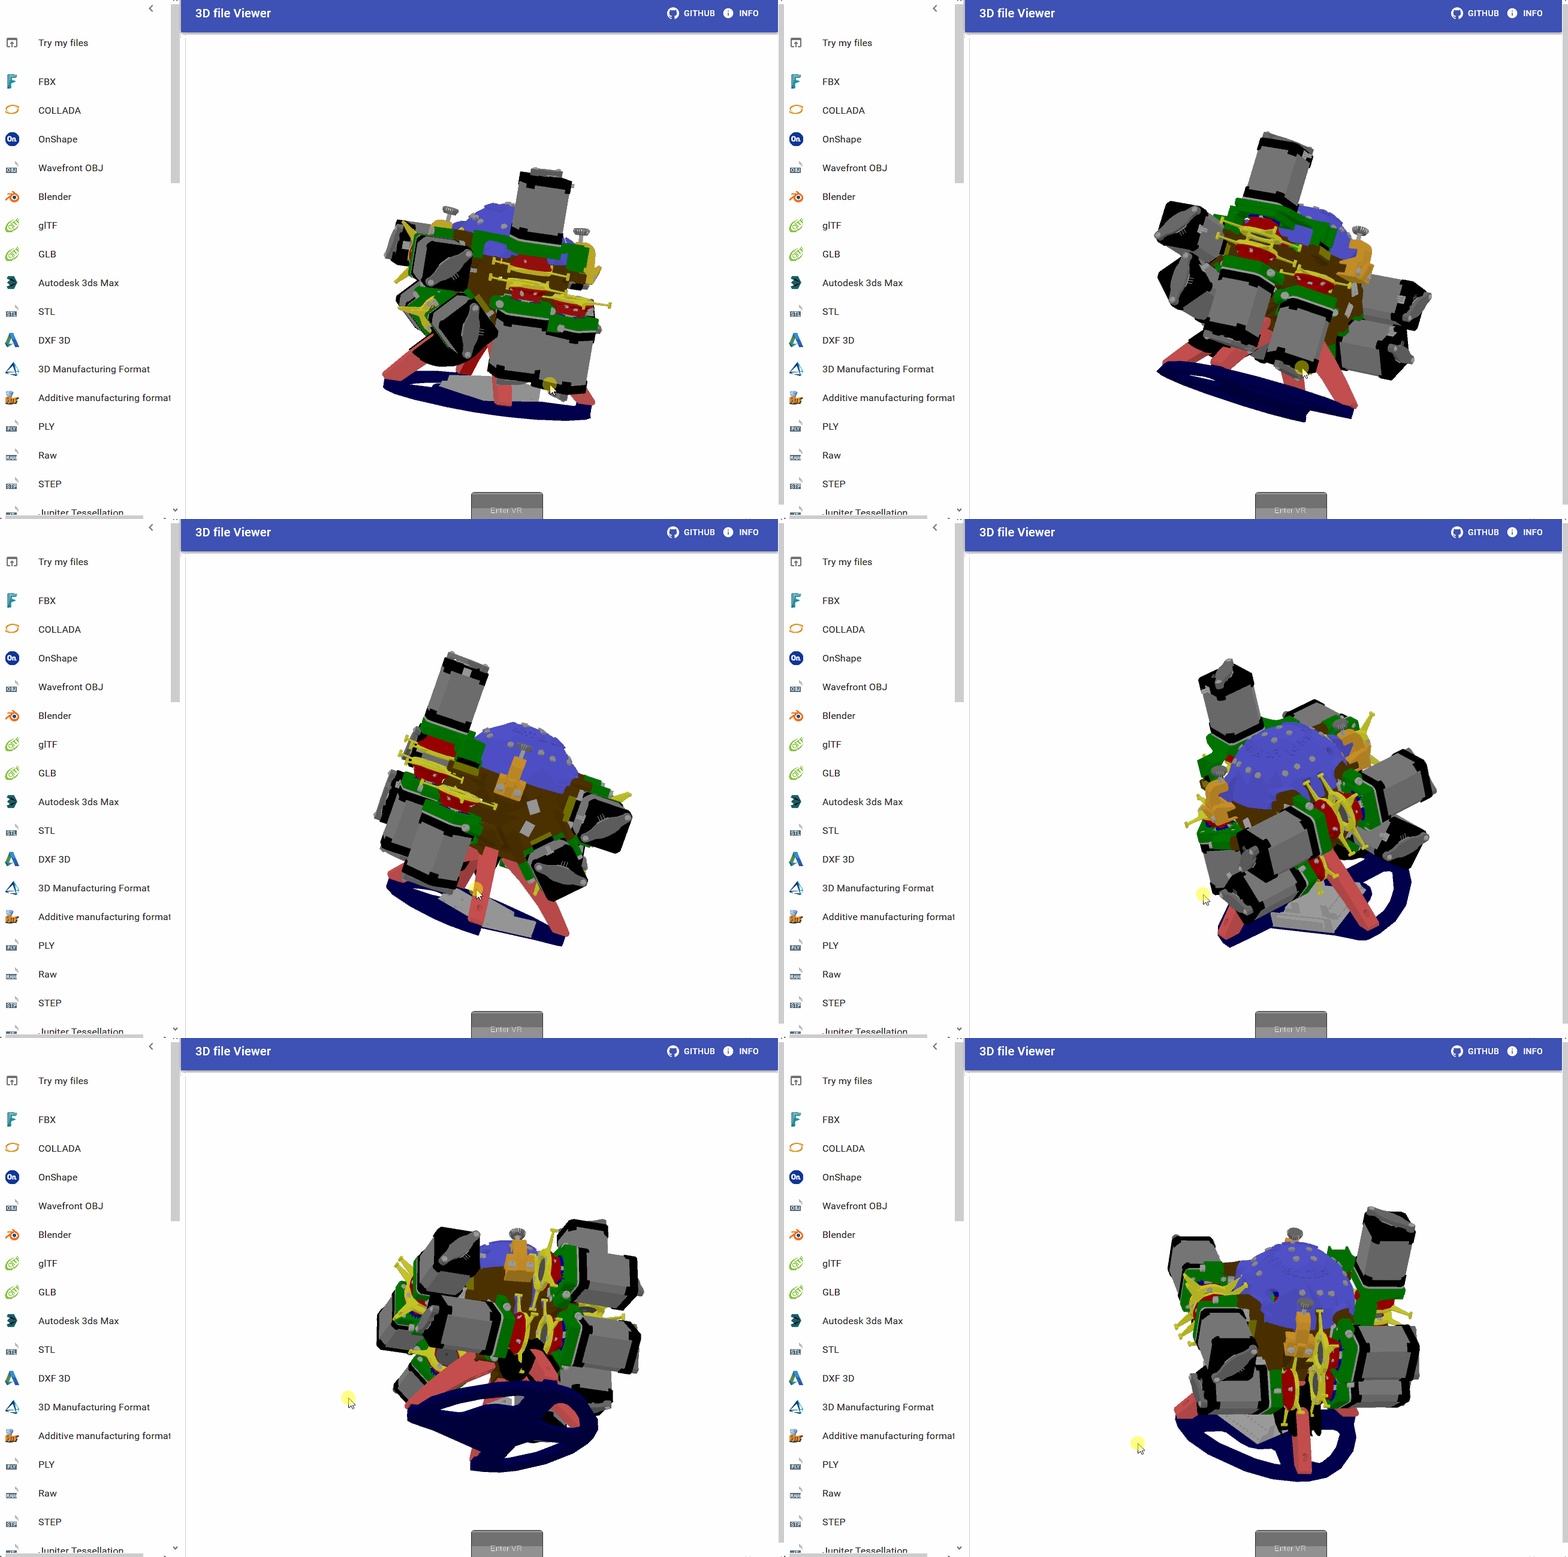
XR CAD file viewer
Opens 45+ 3D CAD formats in your browser (FBX, STEP, OBJ, Collada, GLTF, OnShape, ...) and now, view them in VR/AR with WebXR !
LIVE DEMO : ▶️ https://rufus31415.github.io/sandbox/3d-viewer
XRTK
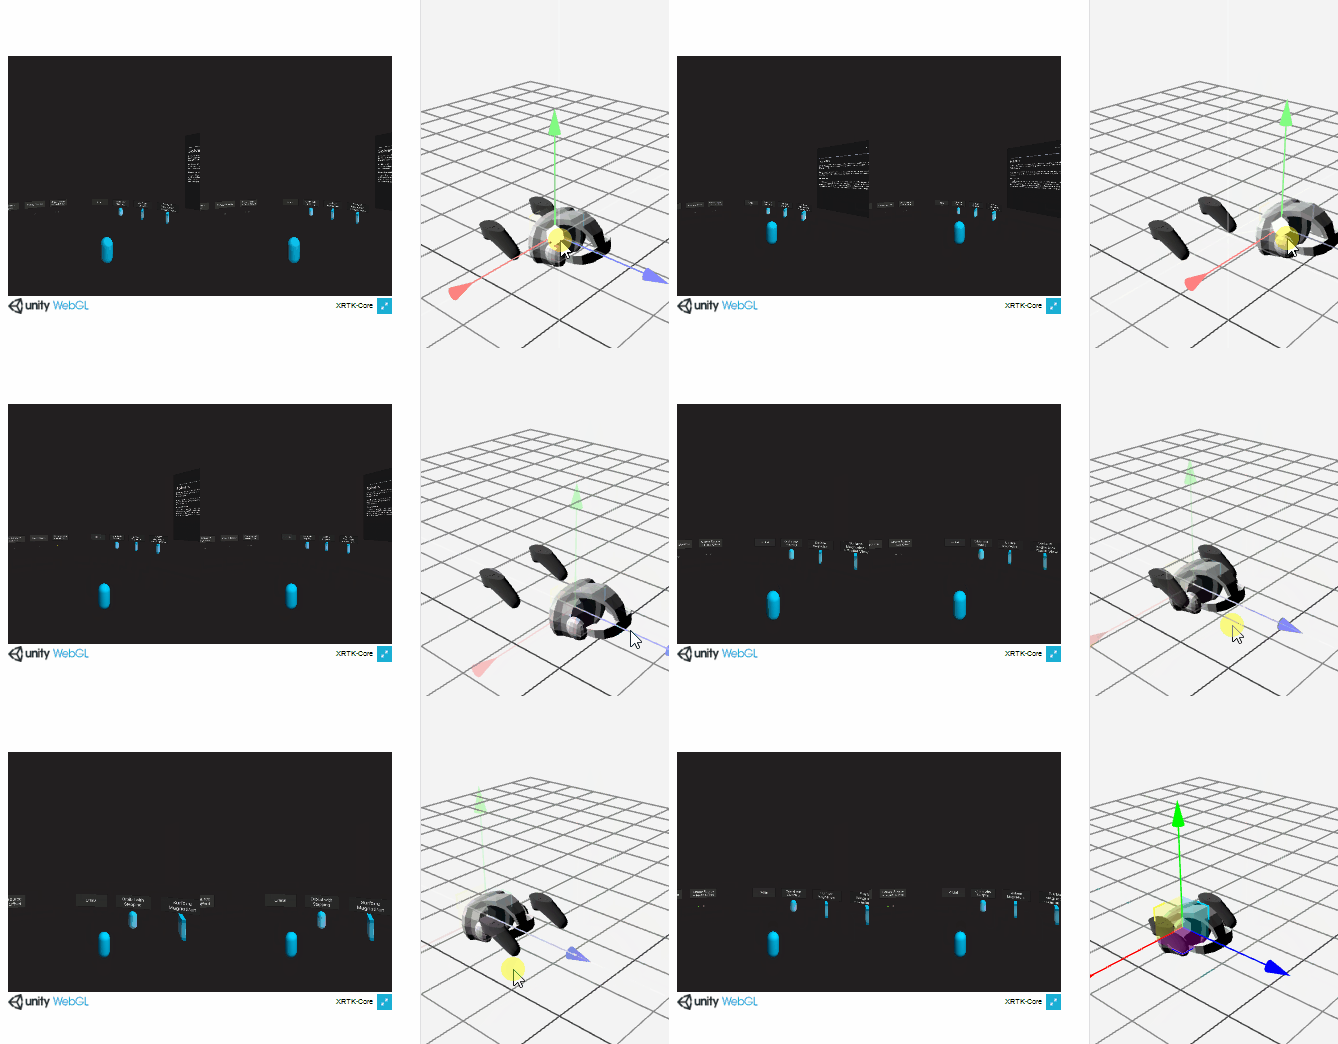
The Mixed Reality Toolkit's primary focus is to make it extremely easy to get started creating Mixed Reality applications and to accelerate deployment to multiple platforms from the same Unity project.
LIVE DEMO : ▶️ https://rufus31415.github.io/sandbox/simple-webxr-xrtk-solvers/
| iOS | Emulator |
|---|---|
 |  |
HPTK
Hand Physics Toolkit (HPTK) is a toolkit to implement hand-driven interactions in a modular and scalable way. Platform-independent. Input-independent. Scale-independent.
I am currently studying the implementation of WebXR in this framework.
Original repo : https://github.com/jorgejgnz/HPTK-Sample
My fork and WebXR implementation : https://github.com/Rufus31415/HPTK-Sample-WebXR
LIVE DEMO : ▶️ https://rufus31415.github.io/webxr/HPTK/
( )
)
Quick start
Import and build a sample scene
First create a new 3D project
Download the latest release of SimpleWebXR : https://github.com/Rufus31415/Simple-WebXR-Unity/releases
SimpleWebXR.unitypackage: contains only SimpleWebXR and its demo scenesSimpleWebXR+MRTK.unitypackage: contains SimpleWebXR addon for MRTK. MRTK should be initialized in your project, see : https://docs.microsoft.com/windows/mixed-reality/mrtk-unity/
Open the unitypackage file and import all resources : in tab Project, right click on Assets > Import Package > Custom Package

From the directory Assets/SimpleWebXR/Example/Scenes, just drag/drop a scene (for example the PaintExample) in the tab "Hierarchy"
. You can play the scene, but it won't do anything (except if you are playing a MRTK sample).
Then, build the scene : File > Build Settings.... Remove all scenes from the list and click Add open scenes so that you only get the scene we are going to build.
Select the WebGL plateform and click Switch platform. Then click the Build button and create and select a Build directory next to Assets.

Run your build locally in your browser
Your browser should be compatible with WebXR. For a first try, you can install the emulator :
- For Chrome : https://chrome.google.com/webstore/detail/webxr-api-emulator/mjddjgeghkdijejnciaefnkjmkafnnje
- For Firefox : https://addons.mozilla.org/firefox/addon/webxr-api-emulator
You now need a http server to serve you files. I recommend this one : https://www.npmjs.com/package/http-server
- Just download node.js : https://nodejs.org/
- install the server in your system with the command
npm install --global http-server
You can now open a command line in your directory Build and run http-server. Open your browser to the url : http://120.0.0.1:8080 then open the inspector and you should have a tab "WebXR" from where you can select your simulated device. You can move the controllers and the headset from here.
Now click the button "Start VR" to enter in immersion. Congrats !

Run your build on your smartphone or headset
You can continue to host the page on your PC and serve it to other devices. The difficulty is that most browsers require a secure context for WebXR, i.e. https or localhost.
So it's a bit more complicated, but not impossible ;) ! First you need a certificate :
- Download openssl. If you are on windows, download
binariesfrom : http://gnuwin32.sourceforge.net/packages/openssl.htm - Extract and run the command :
openssl req -newkey rsa:2048 -new -nodes -x509 -days 3650 -keyout key.pem -out cert.pem -config **PATH_TO_OPENSSL**\share\openssl.cnfwhere PATH_TO_OPENSSL is the absolute path to the directory you just extracted. - This will generate the files
cert.pemandkey.pem - Move these files in your Build directory
To serve your files, you should now run

 访问官网
访问官网 Github
 文档
文档